Australia’s trails run from rugged Outback tracks to lush rainforest, and that range is part of what makes the country worth exploring on foot. It also means proper preparation matters more than it might somewhere with a narrower set of conditions to plan for.
I got thinking about this watching ALONE, where contestants are dropped into genuine wilderness with just ten items to survive on. It’s a useful exercise even outside the show: if you had to narrow a hiking kit down to the essentials, what would actually make the cut? Gear choices shift depending on the hike, terrain, weather and your own experience, but three items come up as non-negotiable for me regardless of those variables.
One note before the list: water isn’t on it, because it’s so fundamentally non-negotiable that treating it as one item among several undersells it.
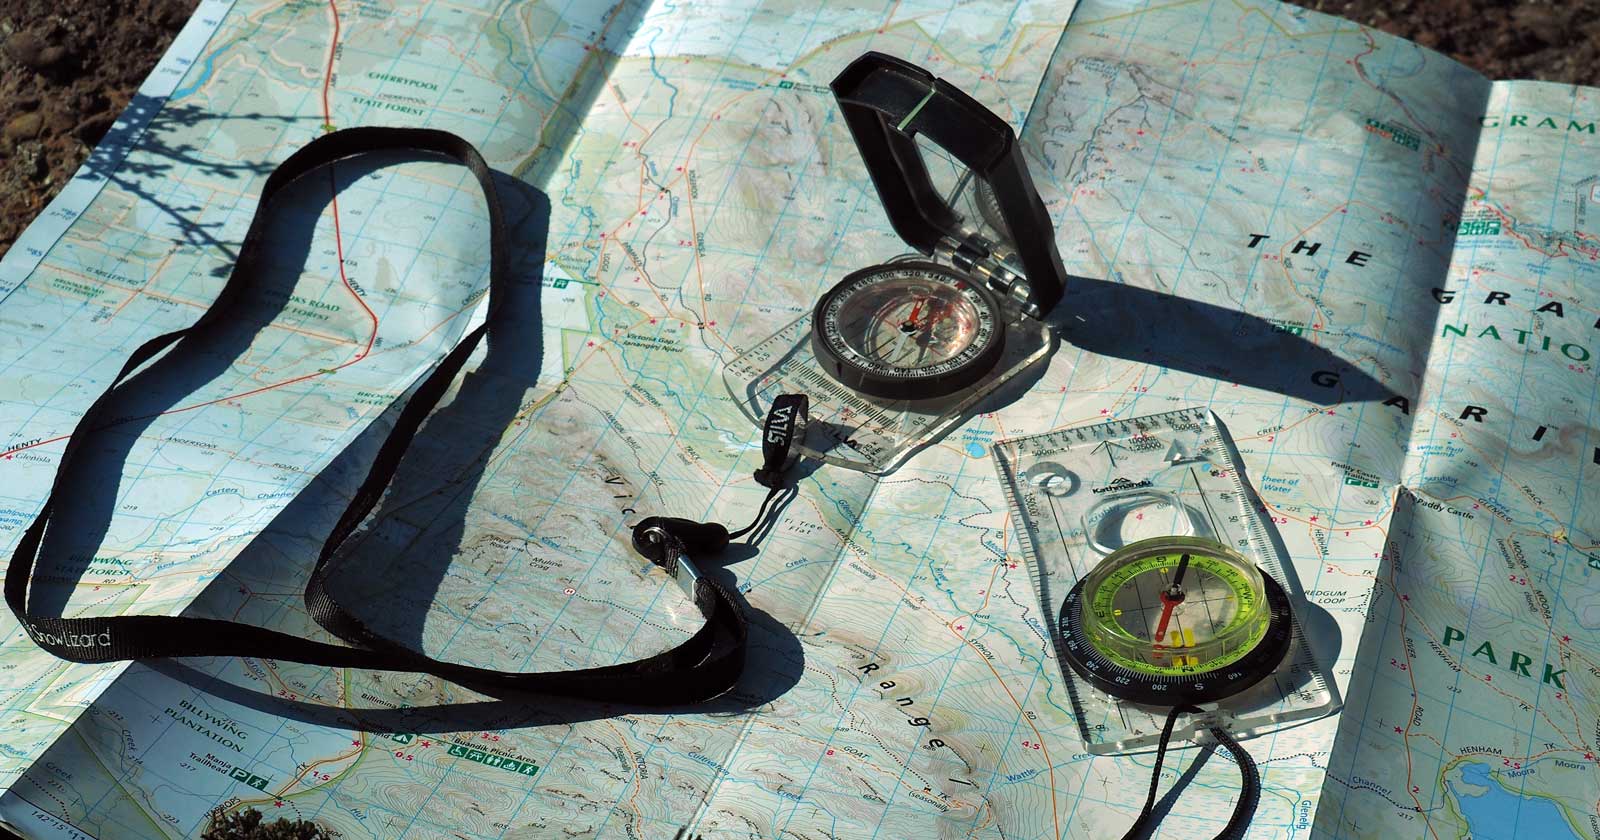
Navigation tools
In Australian bush where a track can fade or disappear entirely, staying oriented isn’t optional. A GPS device is a genuinely useful tool, but the reason a map and compass earn a place on this list ahead of it is that they don’t depend on a battery or a signal. If the GPS fails, they’re what’s left.
A proper topographic map, not a road map, is worth the difference. It shows elevation contours, trail lines and water sources in a way a standard map simply doesn’t, and choosing the right scale for the distance and complexity of the hike makes it genuinely usable rather than just technically accurate.
Beyond the map and compass, a few tools add real confidence in the field:
- GPS device, useful as a primary aid, but still worth backing up with the ability to navigate by map and compass alone
- Altimeter, for confirming elevation, which helps you stay on track and pick up early on a wrong turn
- Binoculars, for spotting a distant landmark like a peak or a river bend before you’ve committed to a direction toward it
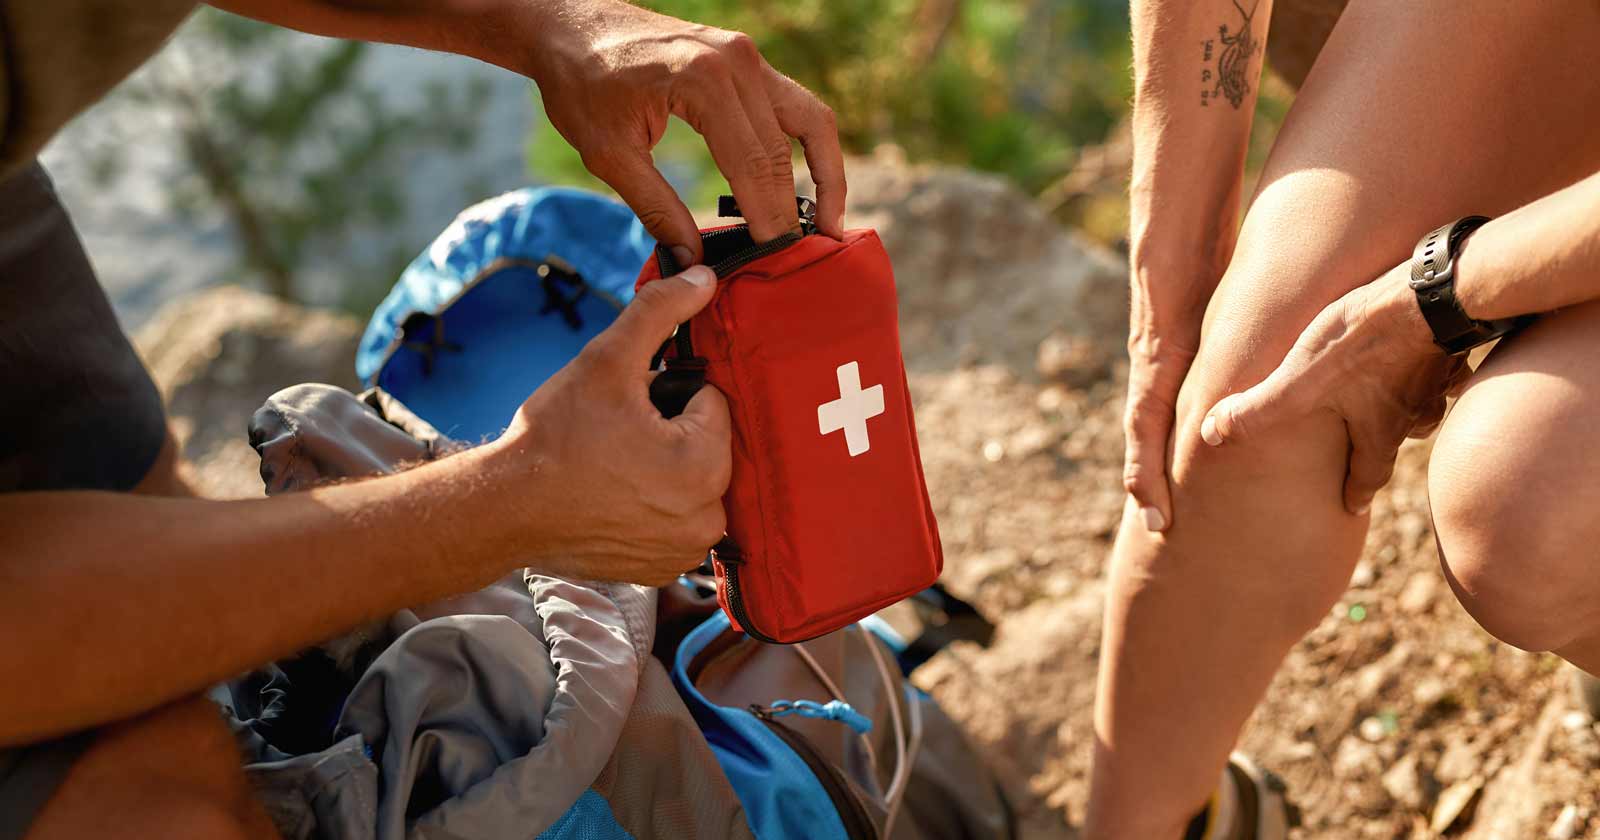
A first aid kit
Australian terrain and wildlife bring a specific set of risks, and a well-stocked kit is what lets you manage them until you can get to proper medical help rather than have a minor issue turn into the reason a hike ends early. Cuts, sprains, blisters and insect bites are the ones you’ll actually use it for most often, but it needs to cover the more serious possibilities too.
A pressure bandage handles a snake bite, slowing venom spread until emergency help arrives. Antihistamines and something for the itch manage insect stings and bites. Electrolytes support recovery from heat-related illness or dehydration, and basic wound care, antiseptic, dressings, tweezers, covers everything from a scrape to a blister that’s starting to break down. I’ve gone through what a properly built kit looks like in more detail in the full first aid kit guide, including how to build one around the conditions you’re actually likely to face rather than a generic pre-packed list.
Alongside the kit itself, a personal locator beacon or satellite communicator is worth carrying too, since it’s what lets you actually call for help once the kit’s done what it can.
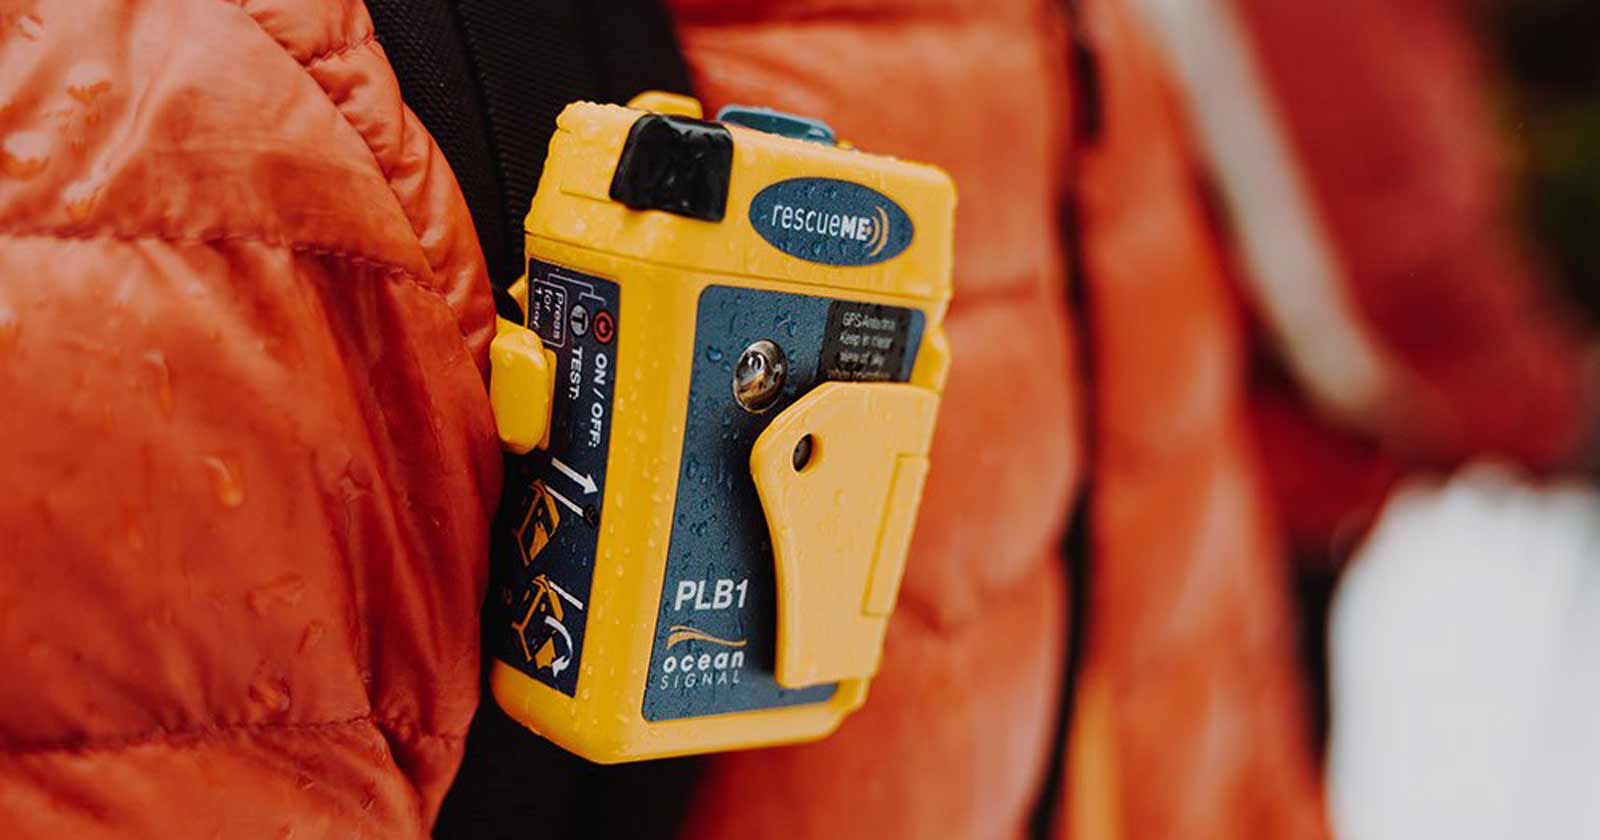
A personal locator beacon
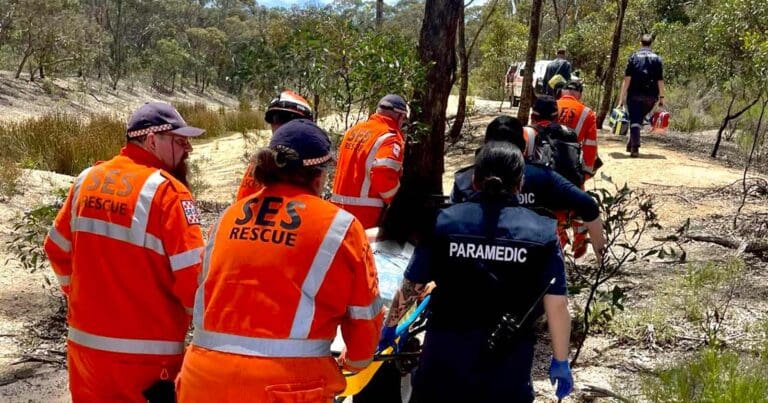
A PLB is small, but it’s the single item on this list most likely to genuinely save your life if something goes seriously wrong. Activating one sends a distress signal through the COSPAS-SARSAT satellite network to the Australian Maritime Safety Authority, who coordinate the actual rescue, and none of that depends on mobile coverage.
When choosing a PLB, make sure it is a 406 MHz model that meets Australian standards, and preferably one with built-in GPS. Modern PLBs use 406 MHz to send the distress alert through the global COSPAS-SARSAT satellite system, while 121.5 MHz is used as a local homing signal by rescuers. PLBs must transmit for at least 24 hours after activation, although some models are rated for 48 hours.
Registering the beacon with AMSA once you’ve bought it matters as much as carrying it, since registration is what lets rescue teams identify you quickly rather than working from an anonymous signal. Using one is deliberately simple: pull the antenna, activate it, then stay put and limit movement so rescuers can pinpoint your position rather than chase a moving target. Carry it every time you’re heading somewhere remote, test it periodically to confirm it’s working, and make sure the registration details are current.
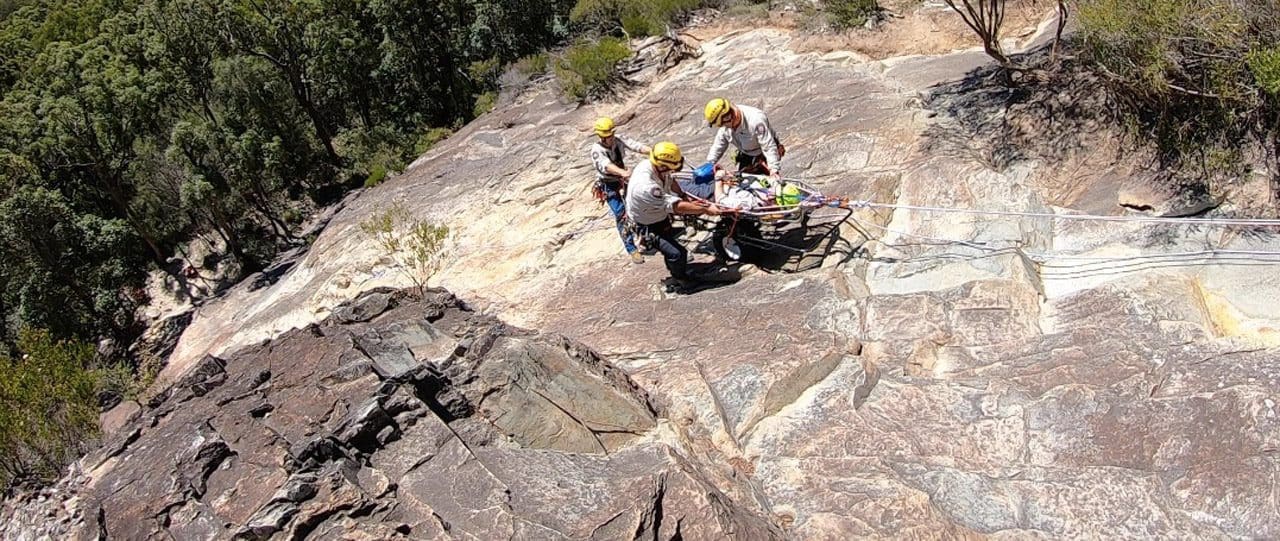
Beyond the three essentials
A few habits round this out and cost nothing to carry:
- Let someone know your route and expected return time
- Hike with a friend or family member where you can
- Check the weather and dress for it
- Weather Guide for Hiking
- Build breaks into your plan to rest and refuel
- Stay aware of your surroundings and the wildlife in them
If you had to strip a hiking kit down to the essentials, navigation tools, a first aid kit and a PLB cover the three things most likely to actually determine the outcome if something goes wrong: knowing where you are, managing an injury, and being able to call for help when you genuinely need it.