While they may look intimidating, all hikers should learn how to read a topographic map. Topographic maps are two-dimensional representations of a three-dimensional landscape. They show the basic landmarks of the area. The most useful feature of topographic maps is the precise way that they portray the shape of the land. These maps are designed to show where the terrain will rise and fall and how quickly it will do so. This can help you decide how to tackle a mountain or a valley — or if you want to! This means that topographic maps are handy tools for hikers. I often meet other hikers on the trail who seem confused about their location or direction of travel. Most are not carrying a map and simply expect that their will be an obvious trail or markers to define the way. Other people I meet have a map but simply cannot read it.
Knowing how to read a map isn’t difficult, for most people, given training, a bit of practice and continual use. The symbols, topography lines and direction helpers all might require a little understanding, but the answers are all right there!
Learn to read contour lines
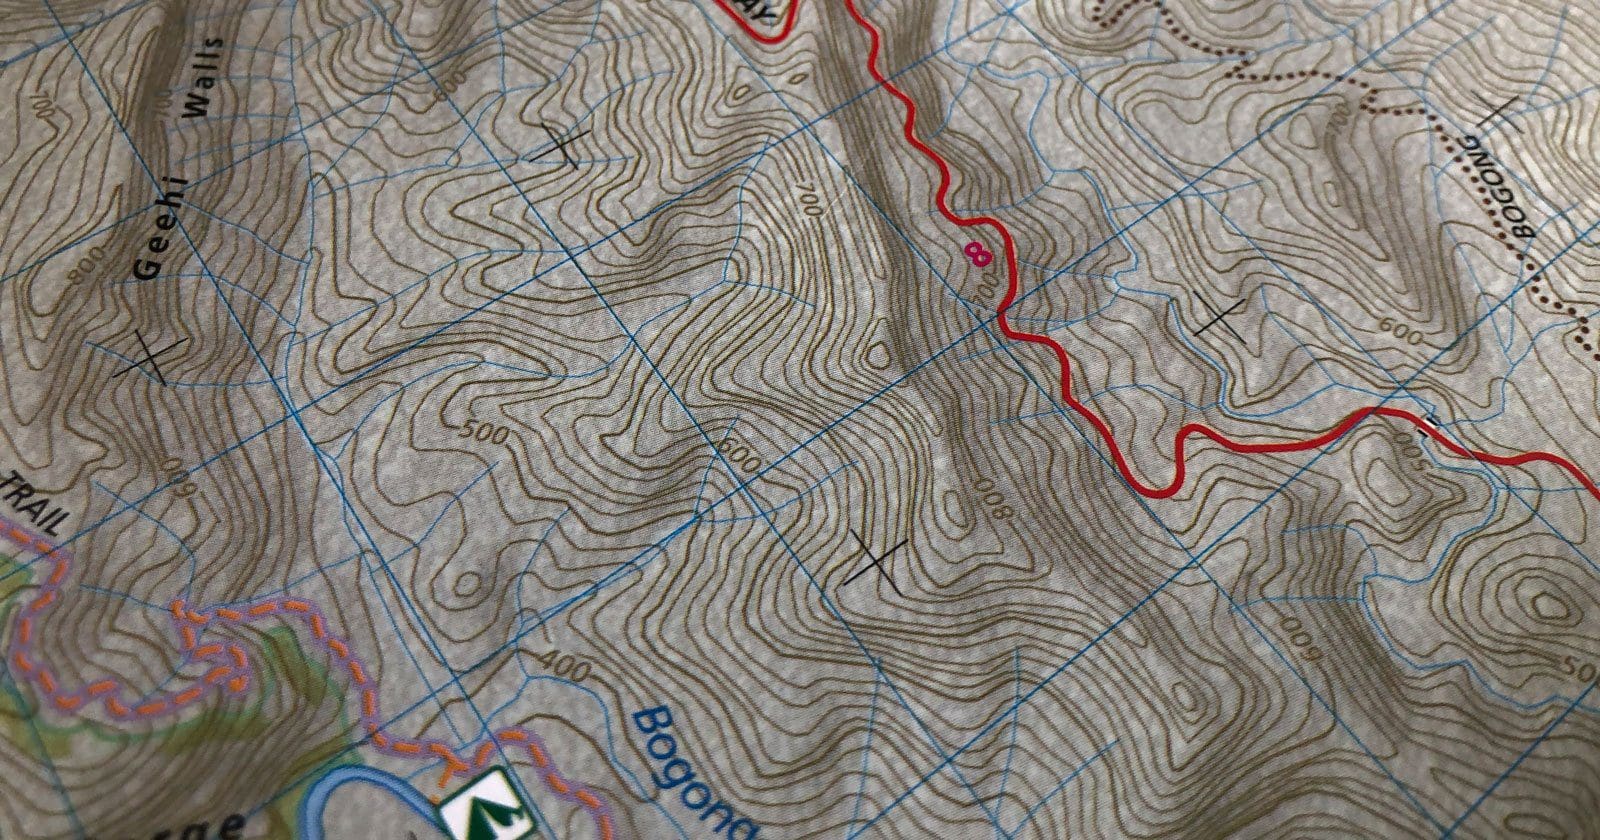
Contour lines on a map represent how high or flat the land is. Each line represents a standard height above sea level. When contour lines are close together, this means that the gradient is steep (the closer together, the steeper the gradient becomes).
When the contour lines are further apart, the gradient is flatter, so the further apart they are located, the flatter the ground will be.
The contour interval shows the height difference vertically between the contour lines. Normally on topographic maps the contour interval is 10 metres but can be 20 metres in steeper areas or 5 metres in very flat areas. Form lines (broken brown lines, generally only found on orienteering maps) are used to indicate contour shape or height for features under 10 metres high.

Some Important Land Forms
Hills and Knolls – Hills and knolls (or small hills) are shown by a loop contour or several concentric loop contours depending on how high the hill is.
Saddles – Named after a horse rider’s saddle, it is a low point between two knolls. It looks up to higher ground on two sides, and looks down on to lower ground on the other two sides.
Steep and Flat Terrain – Contour lines close together indicate steep terrain; contour lines a long way apart indicate flatter terrain.
Gullies and Spurs – A gully is a small valley, usually where water runs in wet weather. A spur is a sloping ridge jutting out from the side of a hill. In most Australian terrain, hillsides have been eroded to form a series of gullies separated by spurs. Every bend in a contour indicates either a gully or spur. It is crucial to be able to tell which of the two it is. To distinguish between a gully and a spur. Find the highest point (the knoll) SPURS point away from the knoll and downhill GULLIES point towards the knoll and uphill. On many topographic maps gullies can be picked by the blue lines denoting watercourses.
How to know which way is uphill and downhill? It is not always easy to tell! Topographic maps have a thicker ‘index’ contour, usually every 100 m, that have heights marked that you can match up to work out up and down. Alternatively, locate a high point or a low point, and follow the contours from there. Here’s a few hints:
- Watercourses flow in land lower than that immediately surrounding them.
- Water flows downhill. Watercourses get larger and join each other as they flow down to lower country.
- Look for closed loop contours indicating hill tops. The land immediately surrounding is lower
Experienced orienteers do much of their navigation by carefully reading the contours, and matching them with the shape of the landscape around them. This is particularly so in many parts of Australia where there is a distinct ‘gully-spur’ landform covered in open forest, with very little other detail. Interpreting features of the landscape is best learned in the terrain with a map. It can also be reinforced by undertaking suitable theoretical exercises.


