In many areas throughout Australia, especially in the bush, mobile phone service can be rare, making it difficult to reach help when needed. If you ever find yourself needing help, knowing the different ways you can signal for help and choosing the most appropriate ones for the circumstances can be the difference between life and death.
Accidents and injuries can happen on any hike. Should you find yourself in a survival situation hopefully you’ve let someone know your plans before leaving home, noting the location of your car at the trail-head and are carrying some basic gear to help you survive. If you’ve done this then you have given yourself the best chance of getting home safely up to this point. There are a few reasons you might need external assistance on a hike. It could be a rolled ankle, snake bite, fall or injury, or a life threatening situation such as dehydration or heat exhaustion. Any time you head out into the Aussie bush, you are increasing your chances of being involved in an emergency situation. Every day our emergency services risk their lives for at least one bush rescue so its important to plan your hike, know what to do when you need help, understand your survival priorities and know how to signal for help.
What to do if you need help
Here’s a couple of quick tips, you can find more suggestions here.
- Don’t panic! This wastes energy and leads to poor decision making
- If you have no idea where you are, STAY WHERE YOU ARE!
- If you’re in a group ALWAYS STAY TOGETHER!
- If you have mobile reception and battery charge, call 000 and ask for police. If SMS is the only way you seem to be able to connect, then SMS your location to a friend and get them to call 000 for you.
- If you have a Spot, InReach or satellite communication device, active your emergency response.
- If you believe your life is at risk, activate your personal locator beacon (PLB)
- It can take time for rescuers to reach you, so your priority now is to find or build a shelter to keep warm and dry.
- Decide how you are going to signal for help
Signalling for help
When people become lost, it is quite common for them to seek help towards the end of the day or early evening when they realise they might have to spend a night in the bush and concern really sets in. It can take many hours for rescue teams to mobilise and reach you so it is likely they will be searching in the dark. If you managed to contact 000 or activate your PLB, this doesn’t automatically mean search and rescue teams will know exactly where you are. While a PLB will provide a more accurate data, calls to 000 may not. It is highly likely teams will set out on foot, in the dark, to try and find you. This is when signalling for help is crucial as visually locating you and your group has just become a lot more challenging.
So how do you signal for help?
I’ve detailed some of the most common methods below. These are not listed in any priority order but I have covered night time signalling methods first. In an emergency situation, I certainly recommend using as many of these methods together to improve your chances of being found.
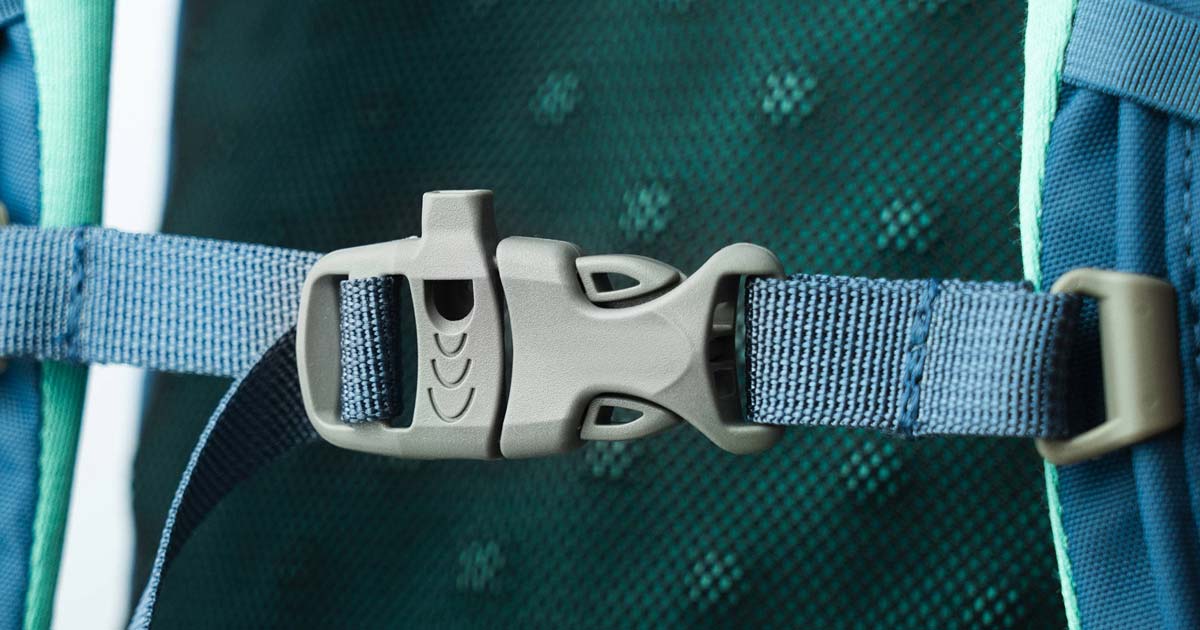
1. Blow your emergency whistle
You may not have realised that your backpack already has an emergency whistle. Most modern packs feature a whistle on the chest strap. So before you rush out and buy more whistles, check the buckle of your chest strap to see if you already have one. A whistle is an inexpensive piece of safety gear that can make a big difference so even if your pack does have one, I would recommend you buy a few whistles and carry them with you just in case. Universally, three sharp blows of a whistle are generally accepted as a signal for distress. So, it’s important not the treat your whistle like a toy or let your kids walk around blowing it during a hike. A whistle is an essential piece of emergency gear and should be treated as such.
You may have heard people calling “Cooee” when out in the bush. Originally this call was used when you needed to attract attention or to find missing people. When done correctly – loudly and shrilly – a call of “Cooee” can carry over a considerable distance. The problem now is that people have started calling “Cooee” for non emergency situations and the benefit for emergency use is all but lost. Whistles are a great replacement as the sound can also carry long distances. I was involved in a recent search and rescue in Victoria and we were using a combination of voice calls and whistle. When we eventually located the missing walkers, they said they never heard our voices but could hear the whistle clearly.
Blowing a whistle does not take a lot of energy and I recommend you start using it as soon as you require help. You might be fortunate enough to attract the attention of a nearby hiker who can assist you or search and rescue teams. Three sharp blows of a whistle, every ten minutes will improve your chances of being found.
What if you don’t have a whistle?
If you’ve headed out for a hike without your trusty whistle, don’t panic, Mother Nature has your back. If you don’t know how to whistle using your fingers and mouth, with a bit of practice (at home), you can improvise using grass or leaves.
Making a grass whistle:
- Grab a long blade: Think thumbs-length, tough and green – your nature-made reed.
- Thumb Bridge: Pinch the blade between your thumbs, lengthwise, sharp edge facing out. Like a mini green suspension bridge!
- Tighten Up: Stretch the blade taut, no wobbles or kinks. Think steady grass tightrope.
- Blow It Out: Put your mouth to the base where the blade peeks through, like a tiny whistle gateway.
- Practice Makes Perfect: Start gentle, then experiment with blowing strength and angles. Steady breath is key!
Making a leaf whistle:
- Grab a fresh, flat leaf, around 4-6 inches long, 1-2 inches wide. Think leafy megaphone.
- Fold the leaf in half, veins inside, squeezing out wrinkles.
- Roll one end inwards for a round mouthpiece – your nature-made straw for rescue calls.
- Trim the other end at an angle for a sharper whistle edge. Think leaf haircut for better sound.
- Mouthpiece to mouth, blow steadily. Experiment with angles and techniques until you hear that clear whistle.
Remember, even a basic whistle can be a lifesaver. Keep practicing, stay calm, and with a little bushcraft magic, you’ll be whistling your way back to safety in no time.
Whistles are useful both day and night.
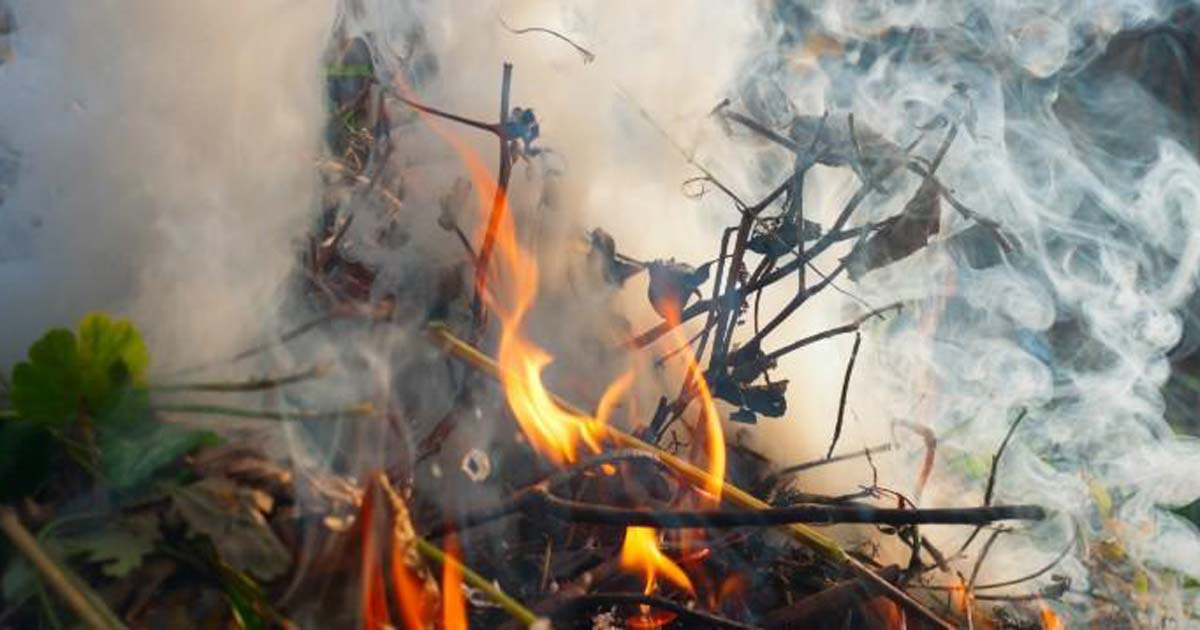
2. Signal fire
Signal fires can be an obvious sign that help is needed. Even though it could just be a campfire, it will help rescue teams to know there are people nearby who could help narrow the search. If you are using a signal fire during the day, you will want to build a different one to what you would use at might. Plumes of smoke are clearly visible in daylight so once the fire is established, you will want to add green vegetation to generate a lot of smoke. At night, when the smoke is not really visible, you will want a nice bright flame. Ideally, you’ll want to build your signal fire on an elevation, such as a hilltop, peak, or ridge. But as you should not wander too far once you realise you need help, you will need to make do with what you have, so a flat clearing will do the job. It is important to clear a 2-3m radius of ground area so it’s free of combustible branches, twigs, and leaves. The last thing you want is your fire accidentally spreading beyond your control, making an emergency situation worse. If it’s impossible to clear your area of combustible debris, at least line the area with rocks and stones to contain the fire. If you are unable to light a signal fire because it is too wet, make your position visible, keep yourself warm by seeking shelter and use other methods to attract attention.
Signal fire during the day: Start a small fire with dry timber or material. Once the fire is established, pile green vegetation on top to produce more smoke than flames. All fires need three elements, heat, fuel and air, so be careful not to put the fire out by suffocating it with vegetation.
Signal fire at night: As above, start a small fire with dry timber or material. Once the fire is established, continue to add kindling and larger pieces of wood to produce more heat and more flames. Slow-burning, long-lasting fuel in the form of larger branches and logs work best. The dryer, the better. Try to find this material on the ground rather than damaging native trees and shrubs. Green ‘alive’ material will not burn well and should only be used to create smoke during the day.
Signal Fires are useful both day and night.
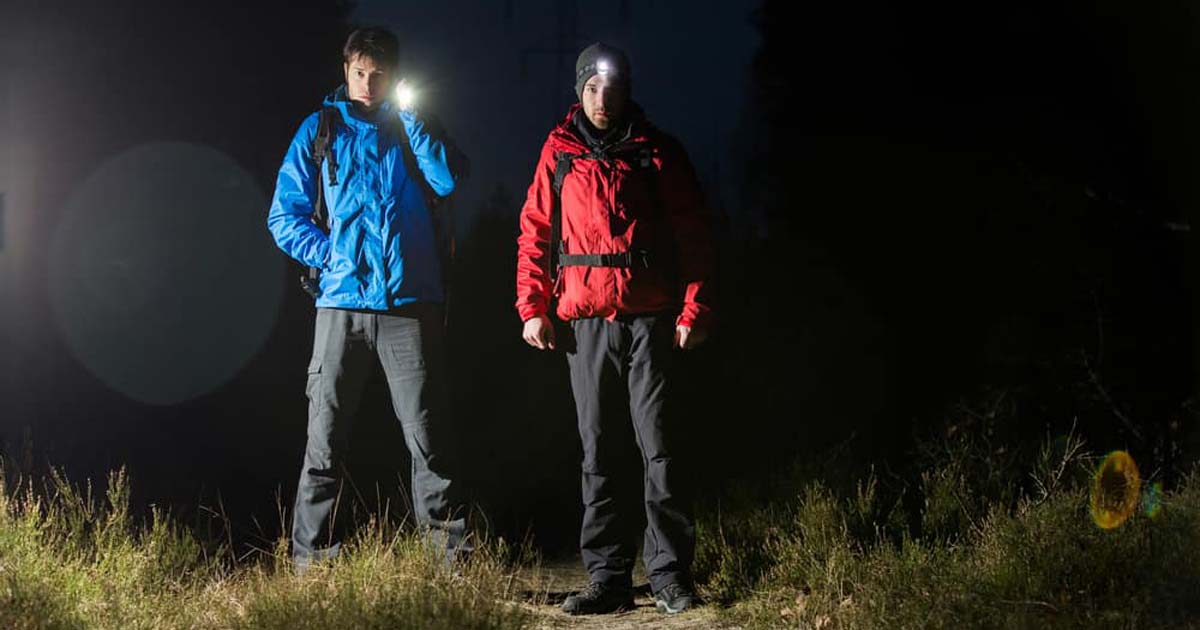
3. Signalling with a torch
Having a torch in your pack, even on a day hike, is one of the best safety decisions you can make. I have been involved in many search and rescue operations where not one person in the party being rescued had a torch other than the one on their phones, which were unfortunately flat. Torches are small, lightweight can be easily stowed in your pack so there is no reason not top have one. Having a torch to signal for help can mean the difference between life and death or, at the very least, the difference between sleeping in a warm bed or outside in the cold until you are found the next day. When it comes to signalling, there are internationally recognised techniques such as SOS where you flash the light rapidly three times, slowly three times, then rapidly three times. This is a really useful technique when people may not know your are lost or when you are signalling aircraft above. If you have contacted 000 and you know teams are out searching for you, simply shining a torch in all directions to attract attention is enough as in my experience, search and rescue teams will approach any light source and won’t just respond to SOS calls.
When signalling with a torch, it’s important to preserve your battery life so be careful not to use it unnecessarily. At night, I would recommend using a whistle and/or signal fire if you can and keep an ear out for voice or whistle calls from search and rescue teams. As soon as you hear them or see their torches, start flashing your torch back in the direction they are coming from while blowing your whistle to attract attention and let them know you hear and see them.
Torches are useful at night.
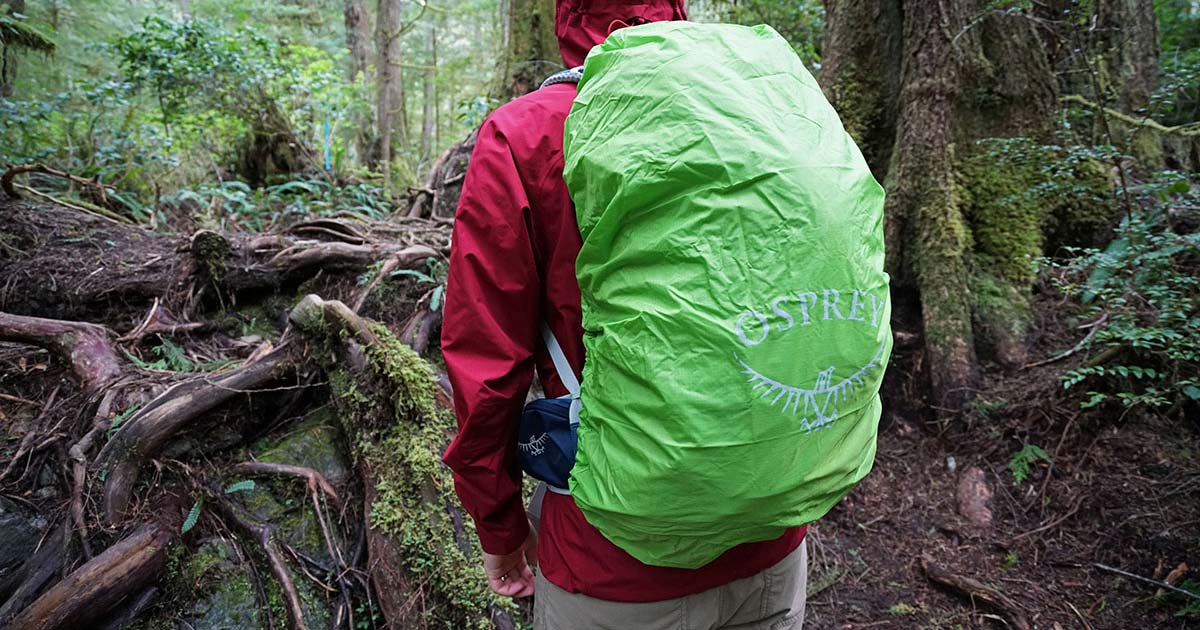
4. Make your position visible
Make your position visible to rescue teams by placing bright items (pack cover, bright clothing etc.) in an open and clearly visible area. The reason for creating a symbol on the ground is to attract the attention of aircraft above, the symbol should be as large as possible in an area where there is not much vegetation above. If you don’t have a lot of bright material around, the symbol can be constructed with debris such as rocks and sticks. Try to use material that has greater colour contrast to the surrounding ground. When deciding what symbol to make, according to an international civil aviation board, a ‘V’ translates to requires assistance while an ‘X’ means requires medical assistance. Remember that aerial support generally runs rescue operations during daylight hours only so its a good idea to create visible symbols that can be seen from the air as well as from the ground, especially at night. A pack cover hanging in a tree will attract the attention of rescue teams who will always be carrying torches. When deciding what to use to create visibility, it is important to remember that keeping yourself warm is the priority so never sacrifice your body temperature by hanging your bright jacket in a tree when you need it to keep you warm.
Useful both day and night.
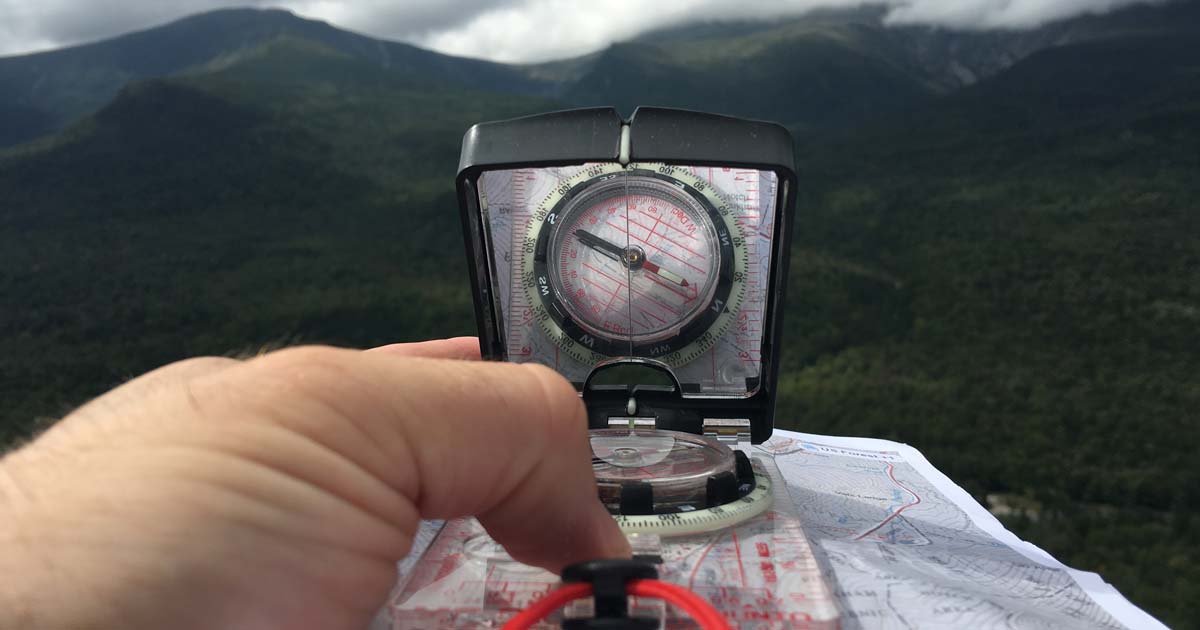
5. Use a mirror to attract attention
The flash from a mirror is one of the farthest reaching (non-electronic) signals you can use to call for help. A beam of light reflected during daylight generally reaches around 15km which is far enough to gain the attention of an aircraft, vehicles, or another hiker. To do this, you will of course need a mirror or some form of reflective material. I’m almost certain most people wouldn’t carry a mirror in their packs so have a think about what dual use item you could improvise with. My compass is equipped with a mirror to allow me to view the compass dial and the background at the same time. This mirror is perfect to use a s signalling device as I always have my compass with me. Have a think about what other items you have in your pack. Although a mobile phone won’t reflect a beam as bright as a mirror, it’s a good way to improvise if that is all you have.
When using a mirror to signal for help you need to reflect the sunlight toward a target, such as another hikers, a road below or aircraft above. To do this, stretch your arm out in front of you and use your middle and index finger to form a ‘V’. Align the lower part of the ‘V’ with your target. Hold the signal mirror between you and the ‘V’ and angle the mirror towards the sun to reflect a beam across your two fingers at the target. Ideally you want the beam of light to be hitting the bottom of the ‘V’ as this is where your target is sighted.
To flash the beam at your target, slightly angle the signal mirror up and down so it first hits your hand and then passes through the ‘V’, hitting your target. Three flashes are most likely to be recognized as a distress signal.
Mirrors are useful at night.
6. Arm signals
Arm signals are used to communicate with search and rescue aircraft. When in distress, both arms raised in a “V” shape is the universally recognised signal for distress and the recommended choice. Keep your arms raised overhead for maximum visibility. A single arm raised high can be confused with greeting and is not a universally recognised distress signal. Avoid using it for distress. If you don’t need help, cross one arm over your chest with the other pointing upwards: This signifies “No” or “Don’t need help.” It’s important to be clear and avoid ambiguity.
7. Listen
While this is not a signalling method, it is an important part of trying to attract the attention of others. While sitting around chatting in a group is great for morale, it can drown out the sounds of other hikers, search and rescue teams, vehicles driving nearby or aircraft passing overhead. So as much as you can, keep silent and listen for unfamiliar noises nearby that may indicate someone else is out there. Whenever you are calling out or using a whistle to attract attention, it is important to pause for 5-10 seconds to listen for any responses. People will respond to a call but if you and not listening for the response, you will not know help is nearby.
Losing my life on a hike is always at the back of my mind because staying alive is the focus of my planning. However you tackle the bush, I hope these few simple tips help on your next outdoor adventure.



Perhaps you might consider updating this article to include the Satphone-based communications devices such as Spot and inReach. These do not suffer from the “all or nothing” conundrum that PLBs do and for a large and sparsely populated country like Australia (with such patchy mobile phone coverage) they offer significant advantages over “traditional” signalling methods. Yes that comes at a cost, but we can all ask ourselves what price we put on safety and on reduced anxiety for our loved ones.
Thanks for your comments.. Agree I failed to mention devices such as InReach. I’ll make an update on that for signalling. The reason I have not spoken about navigation devices or available tech is that the article is not about navigation or the use of technology. It’s about how to signal for help if you are lost or injured and unable to continue or if your communication devices don’t work. It’s more about sharing some manual techniques rather than rely on tech.