Essential techniques for hiking uphill and downhill
Hills work your body differently depending on which direction you’re moving. Climbing hammers your cardiovascular fitness and muscle endurance, while descending loads up your joints, balance, and control in a way that catches a lot of people out. I’ve adjusted my pace, stride length, posture, and technique enough times on both to know it actually changes how tired you are at the end of the day, and how your knees feel the day after.
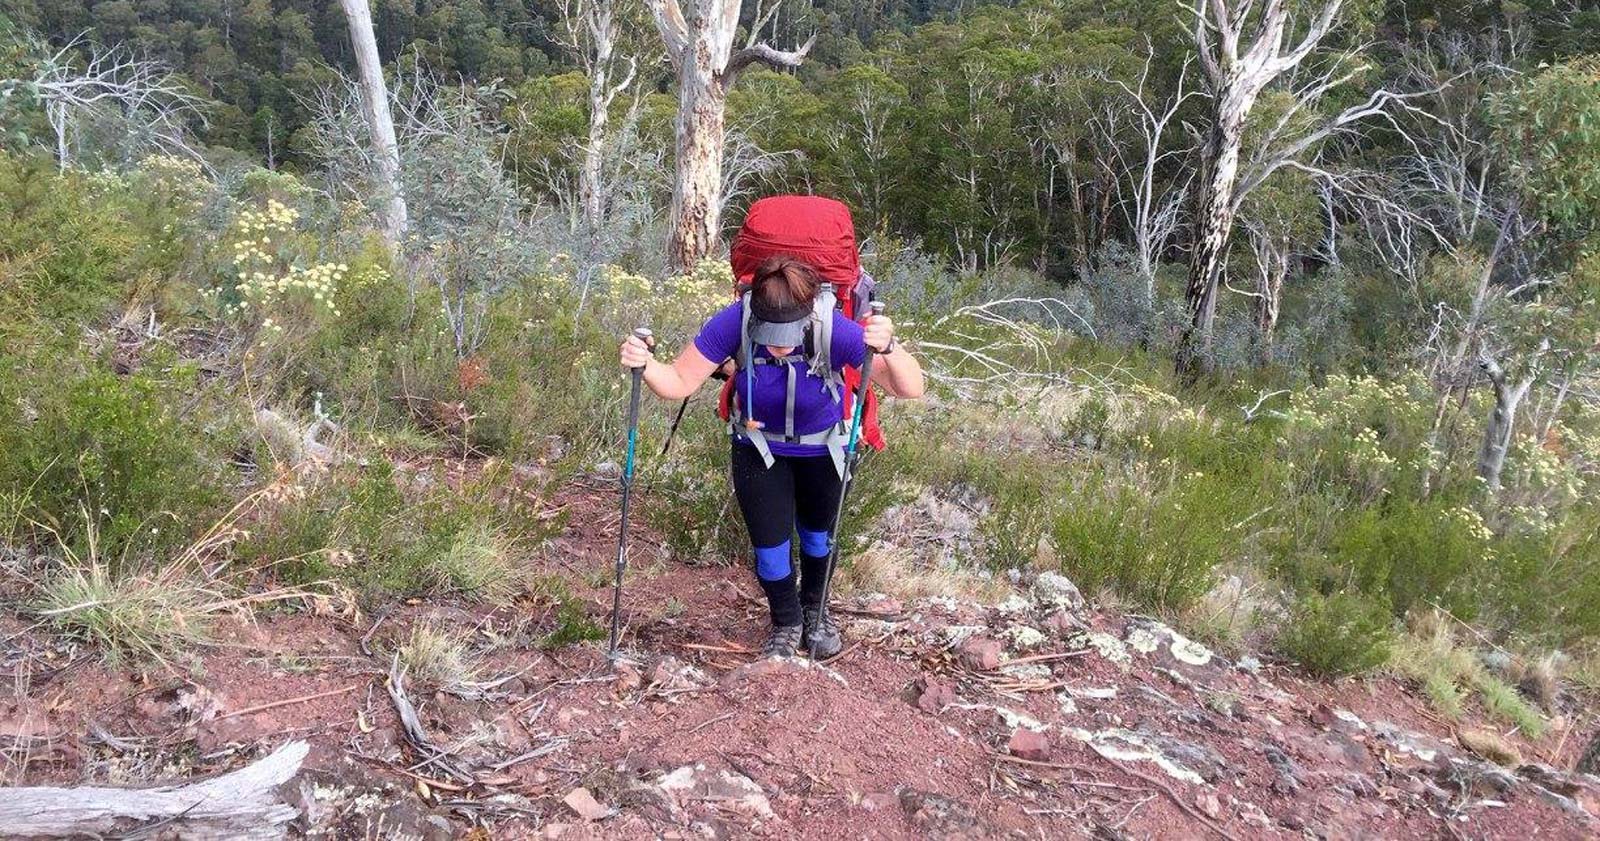
Hiking uphill: move efficiently and conserve energy
A controlled, steady approach to climbing is what actually gets you up the hill with less left in the tank at the top.
- Warm up before climbing: A few minutes on flat ground before the climb starts prepares your muscles and cuts down on early fatigue. I skip this less often than I used to, mostly because I’ve felt the difference when I don’t.
- Shorten your stride: Smaller steps take strain off the knees and hips, improve balance, and help you stay upright rather than hunching into the slope.
- Maintain an upright position: Leaning forward too much makes breathing harder and disengages your core. Staying upright keeps both working properly.
- Set a sustainable pace: Move at a pace you can hold without constant stops. I’d rather slow down slightly than stop and start repeatedly, because restarting costs more energy than most people think.
- Use zigzags on steep slopes: Traversing diagonally instead of straight up cuts the gradient you’re fighting and saves energy on the steepest sections.
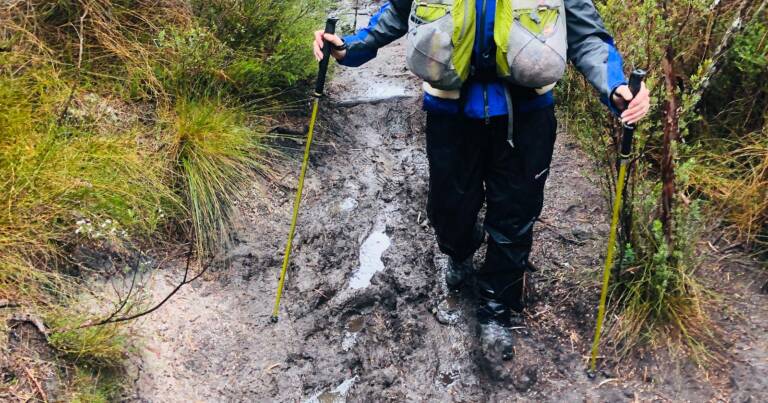
- Use trekking poles if available: Poles add propulsion and take load off your legs. Set them so your elbows sit at roughly 90 degrees, and plant them slightly behind your body with each step.
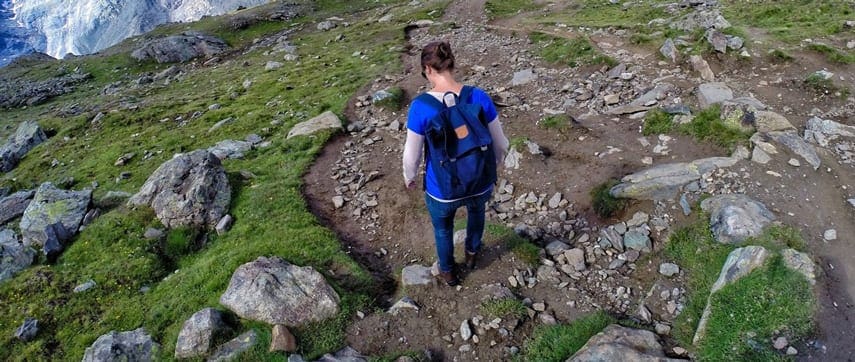
Hiking downhill: maintain control and protect your knees
Descending asks for more focus and restraint than climbing does, even though it feels easier. Get sloppy here and you’re the one dealing with slips and joint strain, not the terrain.
- Take short, controlled steps: Long strides increase the impact going through your joints and reduce control. Smaller steps manage both your speed and your stability.
- Land midfoot where possible: Heavy heel striking loads up the knees more than it needs to. A slight bend in the knee acts as a natural shock absorber instead.
- Read the terrain carefully: Loose gravel, wet rock, and leaf litter all raise the risk of a slip. Adjust your speed and foot placement to match what’s actually underfoot, not what you expect to be there.
- Maintain an upright posture: Leaning back feels safer but actually reduces balance. Keep your weight centred over your feet instead.
- Avoid grabbing vegetation: Branches and shrubs can snap or pull you off balance right when you need stability most. Trust your foot placement instead of a handful of scrub.
- Adjust poles for descents: Lengthen poles by 5–10 cm and plant them slightly ahead of your body for added stability on the way down.
Stride length matters on hills
Stride length is one of the simplest adjustments you can make, and one of the most effective.
- Uphill: Short, steady steps help maintain posture, conserve energy, and reduce muscle fatigue.
- Downhill: Smaller steps improve control and reduce the braking forces going through your knees.
On very steep terrain, I shorten my stride further again and slow my pace to keep balance and safety in hand.
Additional tips for all terrain
- Stay adaptable: Adjust pace and stride based on slope, surface conditions, and how tired you actually are, not how tired you think you should be.
- Use poles correctly: Used properly, poles reduce strain on your legs and improve balance on both ascents and descents. Learn more in using hiking poles effectively.
Want more detailed guidance?
For a deeper look at technique, see The art of hiking uphill and The art of hiking downhill.



Shortening your stride makes a huge difference. Took me a while to figure that out.
Darren Edwards you’re a bit slow but you get there in the end.. In every sense of that sentence🤔🤣
Darren, good tip!
Poles!!!!
Julie Roberts totally agree, they help a lot too
Julie Roberts yep agree totally👍