Anatomy of a hiking compass
A hiking compass is a simple tool, but only if you know what each part actually does and how the pieces work together. Most of the navigation mistakes I see on the trail don’t come from difficult terrain, they come from someone not knowing which part of the compass they’re using, or using the right part the wrong way.
This guide runs through the main parts of a modern baseplate compass: what they do, and why they matter when you’re navigating with a topographic map. Australian tracks can be faint, the terrain repetitive, and signage unreliable, so knowing your compass properly isn’t just theory, it’s part of your safety margin.
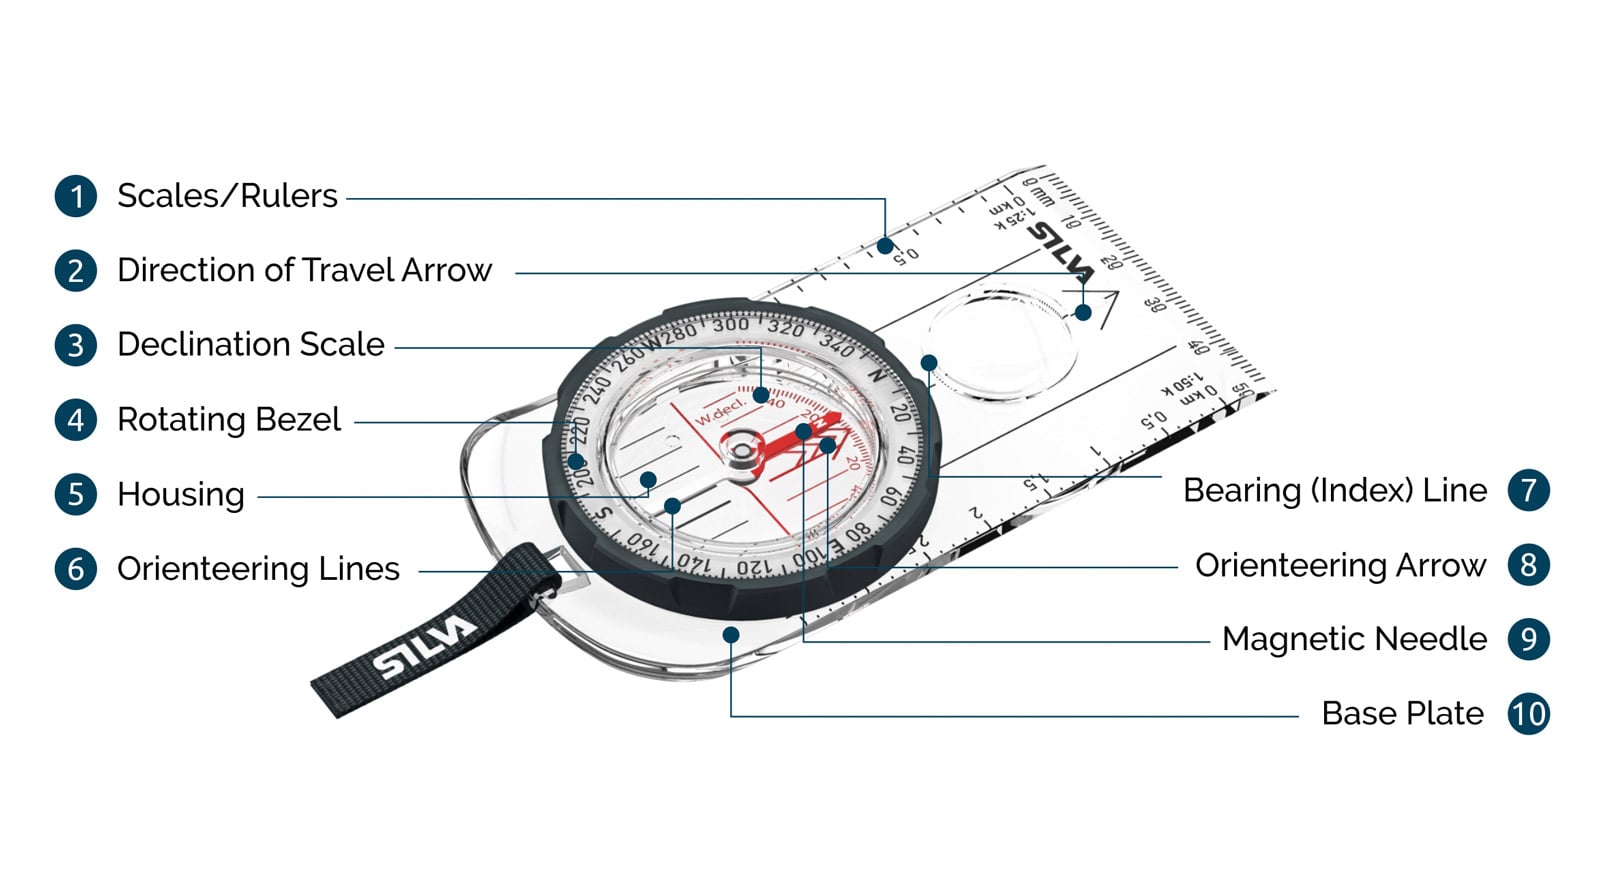
The main parts of a modern hiking compass
1. Scales and rulers
Most baseplates have rulers along the edges for common map scales. In Australia, that means 1:25,000 and 1:50,000 are the ones you’ll use most. They let you measure distances directly off the map at the right scale, which feeds directly into time estimates, planning, and the decisions you make along the way.
2. Direction-of-travel arrow
The direction-of-travel arrow is printed on the baseplate, pointing forward, and it needs to point in the direction you intend to move whenever you’re taking or following a bearing. When you’re walking on a bearing, you follow this arrow, not the needle. That trips people up more than you’d expect, because the needle is the part that visually grabs your attention.
3. Declination scale
Magnetic declination is the gap between magnetic north and true north, and in parts of Australia that gap is large enough to genuinely matter. Most modern compasses have a declination scale or adjustment system, and if you set it correctly, you can work directly off map bearings without doing the mental correction every single time.
Good practice is straightforward: check the declination printed on your map, set your compass if it allows adjustment, and if it doesn’t, apply the correction consistently every time you take a bearing. Ignoring declination altogether is one of the most common causes of serious navigation errors, and it’s an easy one to avoid.
4. Rotating bezel (azimuth ring)
The bezel is the rotating outer ring, marked from 0 to 360 degrees. Turn it and you rotate the internal housing and the orienting arrow along with it. It’s what lets you set a bearing, hold that bearing while you’re working with the map, and then follow it accurately once you’re moving.
Because the bezel can be knocked or bumped, especially if the compass has been dropped or jammed in a pocket, it’s worth checking that it hasn’t shifted before you commit to following a bearing.
5. Compass housing and capsule
The housing holds the liquid-filled capsule and the needle. The liquid is there to dampen the needle’s movement, so it settles quickly instead of swinging back and forth every time you move.
A small air bubble inside the capsule is normal, it’s just there to allow for temperature-related expansion. A large bubble is a different story: that’s a sign of damage or age, and it can interfere with how freely the needle moves.
6. Orienting lines
Orienting lines are the parallel lines printed inside the housing, and sometimes on the baseplate as well. They run in the same direction as the orienting arrow, and their main job is helping you align the compass with a topographic map, by matching them up with the map’s north-south grid lines. That reduces rotational error, which matters more than it sounds like it should in Australian terrain, where distant landmarks are often limited and visibility can be poor.
7. Bearing or index line
The bearing or index line is a fixed line at the top of the housing, and it’s the reference point you read the bearing from. When someone talks about “reading the bearing,” this is the line they mean. Read it from anywhere else on the bezel and you’ll get the wrong direction, which is an easy mistake to make if you’re rushing.
8. Orienting arrow
The orienting arrow sits inside the housing and rotates with the bezel. It’s shaped to fit around the magnetised end of the needle, and when you’re following a bearing, the compass is correctly oriented once the red end of the needle sits inside that arrow.
This is the relationship that actually matters. If the needle and the arrow aren’t aligned, the bearing you’re following is wrong, no matter what the bezel says.
9. Magnetic needle
The magnetic needle is the heart of the compass. It’s magnetised, so it aligns itself with the Earth’s magnetic field, and in Australia the red end points to magnetic north, not true north. That distinction matters more than people think, because everything else on the compass exists to help you work with or around it.
The needle needs to be free to move and settle quickly, and it’s sensitive to nearby metal and electronics. The most common mistake I see is someone tilting the compass so the needle drags along the capsule, or taking a bearing standing right next to a phone, a vehicle, or a set of trekking poles. Any of these can throw the reading off without you realising it.
10. Baseplate
The baseplate is the flat, transparent body of the compass. It gives you straight edges for aligning with map features, and because it’s transparent, you can still see the map detail underneath while you’re working. That’s what turns a compass from a simple direction finder into an actual map tool. Keeping it flat and properly aligned is essential, because a baseplate that’s tilted or skewed against the map will quietly throw off every bearing you take from it.
How the parts work together
None of these parts do much on their own. A compass only works properly when you use all of them together, in the right order, and that’s really the point of learning the anatomy in the first place.
In practice, it goes something like this: the baseplate aligns the compass with the map, and the orienting lines line it up specifically with map north. The bezel is where you store the bearing once you’ve measured it, and the index line is where you read that bearing back. The orienting arrow is what captures the needle when you’re out following that bearing in the field, and the needle itself is what confirms you’ve actually got magnetic north, not just a number on a dial. Declination is the piece that ties it all together, making sure the direction on your map and the direction on the ground actually match.
Skip or misunderstand any one part of that sequence and the whole system stops being reliable, even if every other step was done correctly.
Additional compass features
Some compasses come with extra features, and whether they’re worth having depends on how and where you hike:
- A magnifier for reading fine map detail
- A mirror and sighting system for more precise bearings and emergency signalling
- Global or dual-hemisphere needles, which are important for travellers using compasses outside their original magnetic zone
- Inclinometers for measuring slope angles
Every one of these adds capability, but it also adds complexity, and they’re only actually useful once you understand how and when to use them. I’d rather see someone carrying a simple, well-understood baseplate compass than a feature-heavy model they haven’t properly learned. For most hikers, that’s the better trade-off.
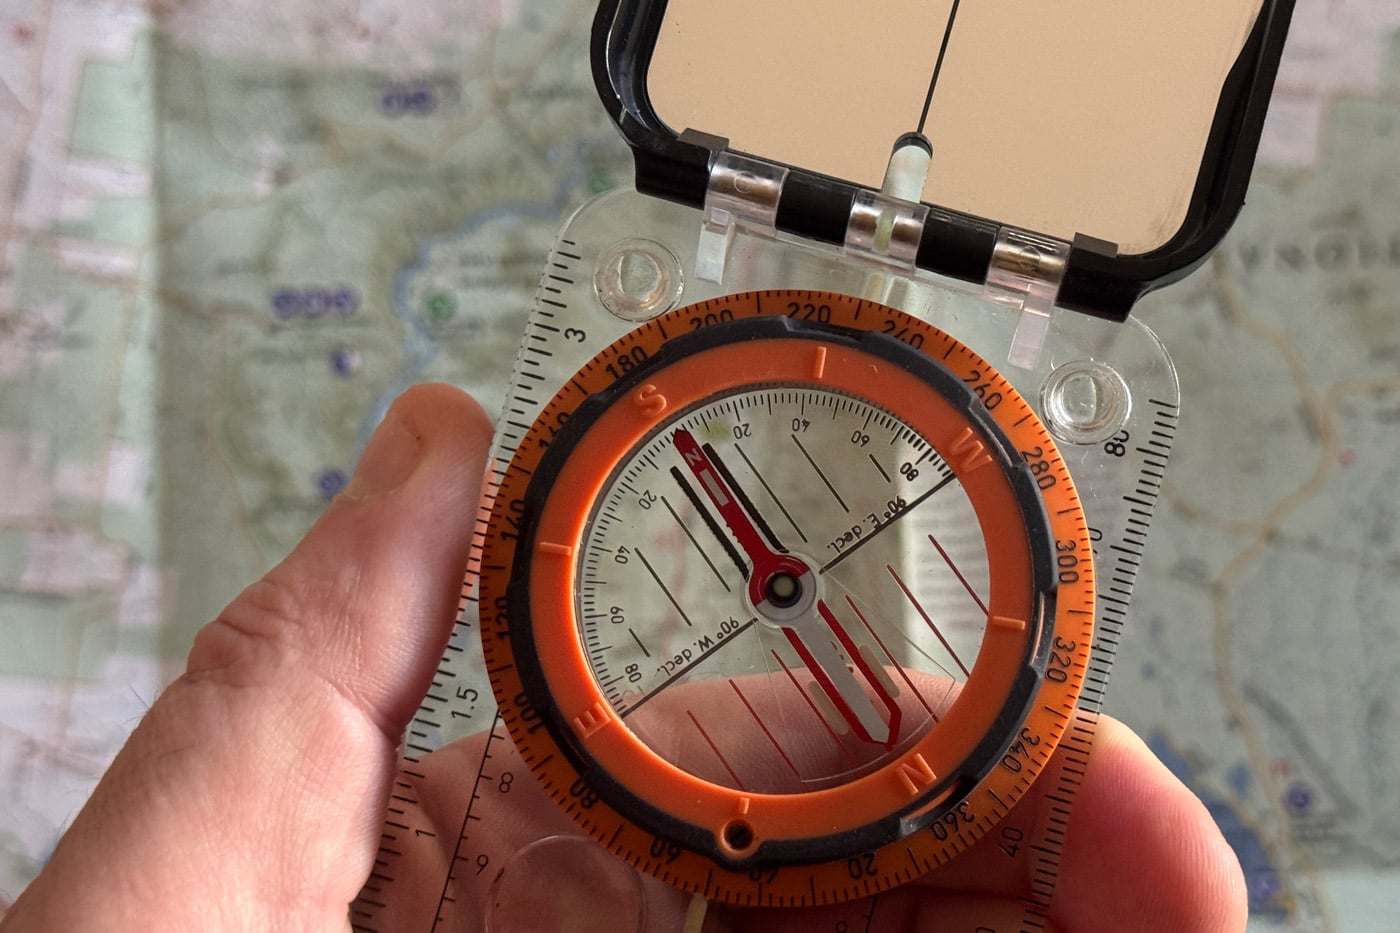
Learn the parts, then practise
Knowing the name and purpose of every part makes the rest of navigation easier to learn, because you’re not fumbling with the tool itself while you’re trying to think about bearings and terrain. Regular practice builds the kind of familiarity that makes a compass second nature rather than something stressful to reach for once conditions turn bad.
Most navigation problems I come across on the trail come down to a poor understanding of basic tools, not difficult terrain. A compass and a map work together as one system, and once you understand both, the information you need to navigate safely is already in your hands. Understanding the parts of your compass was never really about memorising terminology, it’s about knowing what each piece does, when it matters, and how the whole system works together. In conditions where a small navigation error can escalate quickly, that understanding is what gives you confidence, clarity, and a real safety margin. Practise using your compass deliberately on easy terrain, before you need to rely on it somewhere more complex. It’s a foundational skill, and everything else in navigation builds on it.
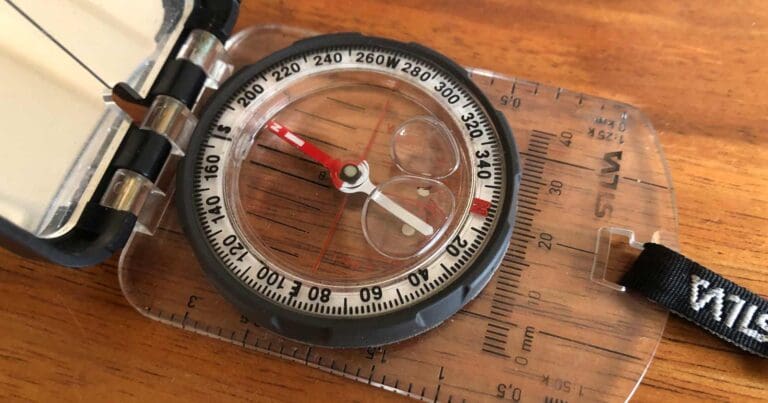
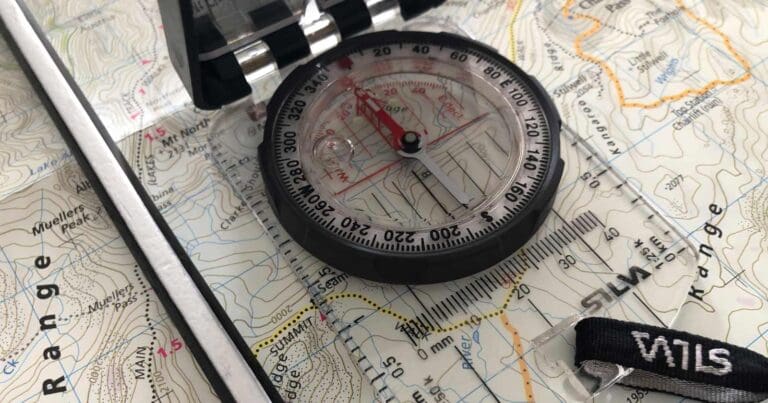
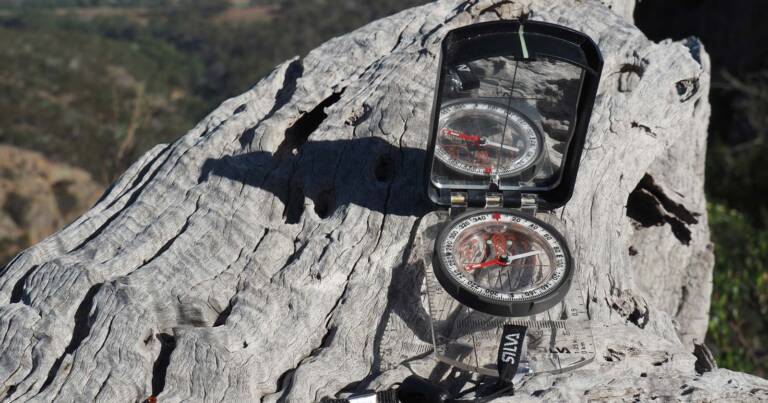




What’s your go-to feature in a compass that you can’t live without when you’re out in the bush?
Trail Hiking Australia That it points North consistently 😂
But seriously, a lensatic compass is good but just a basic Silva with a transparent base plate is enough. Just make sure it’s one meant for the Southern Hemisphere.
A good map on the other hand, is a different story entirely.
Murky Murk ahhh. You laugh that it must point north consistently. One of ours decided to start pointing south. Lucky it was an easy fix with a magnet
Trail Hiking Australia I’ve seen it happen too. 😂
Imagine a drawer full of compasses and one is pointed 180 from the rest.
Murky Murk that’s ones the keeper.
Trail Hiking Australia That’s the one you give the 2LT that does his map reading on the bonnet of a Land Rover 😅
Trail Hiking Australia someone who can use it properly
Sue Evans that’s a good tip and reminder to keep practicing.
Sue Evans Yep. Definitely make sure you pack one of those 😂
Up to date map a standard old Silva Prismatic, a notepad and pencil.
Yes I use my GPS, but in the event of a failure, these items would see me get home.Media: https://www.facebook.com/photo.php?fbid=2487661531592988&set=p.2487661531592988&type=3
Dan McNab nice one.
Dan McNab I always take a map and silva just in case. Old habits die hard.
Phil Brooks it’s a pretty good habit not to break. Mines always in my pack too.