Lacing Techniques to Reduce Heel Lift and Foot Pain
I think laces are one of the most overlooked tools for improving comfort, stability, and foot health on the trail. A lot of what gets blamed on “bad boots” is actually caused by improper lacing or incorrect tension in the wrong areas.
This guide covers the practical lacing techniques I use to manage common issues like heel lift, top-of-foot pressure, and toe pain. These methods won’t fix a poorly fitting boot, but they can make a real difference to a well-fitted pair once you’re out on the track.
If your boots are fundamentally the wrong size or shape, lacing won’t fix that. Revisit the fit first. For broader guidance, see Choosing and Caring for Hiking Boots.
When Lacing Adjustments Make the Biggest Difference
I make lacing changes when:
- your heel lifts on climbs
- your foot slides forward on descents
- you feel pressure across the top of your foot
- your feet swell as the day goes on
It’s normal to adjust your laces during a hike, since conditions, terrain, and fatigue all change how your feet behave inside your boots.
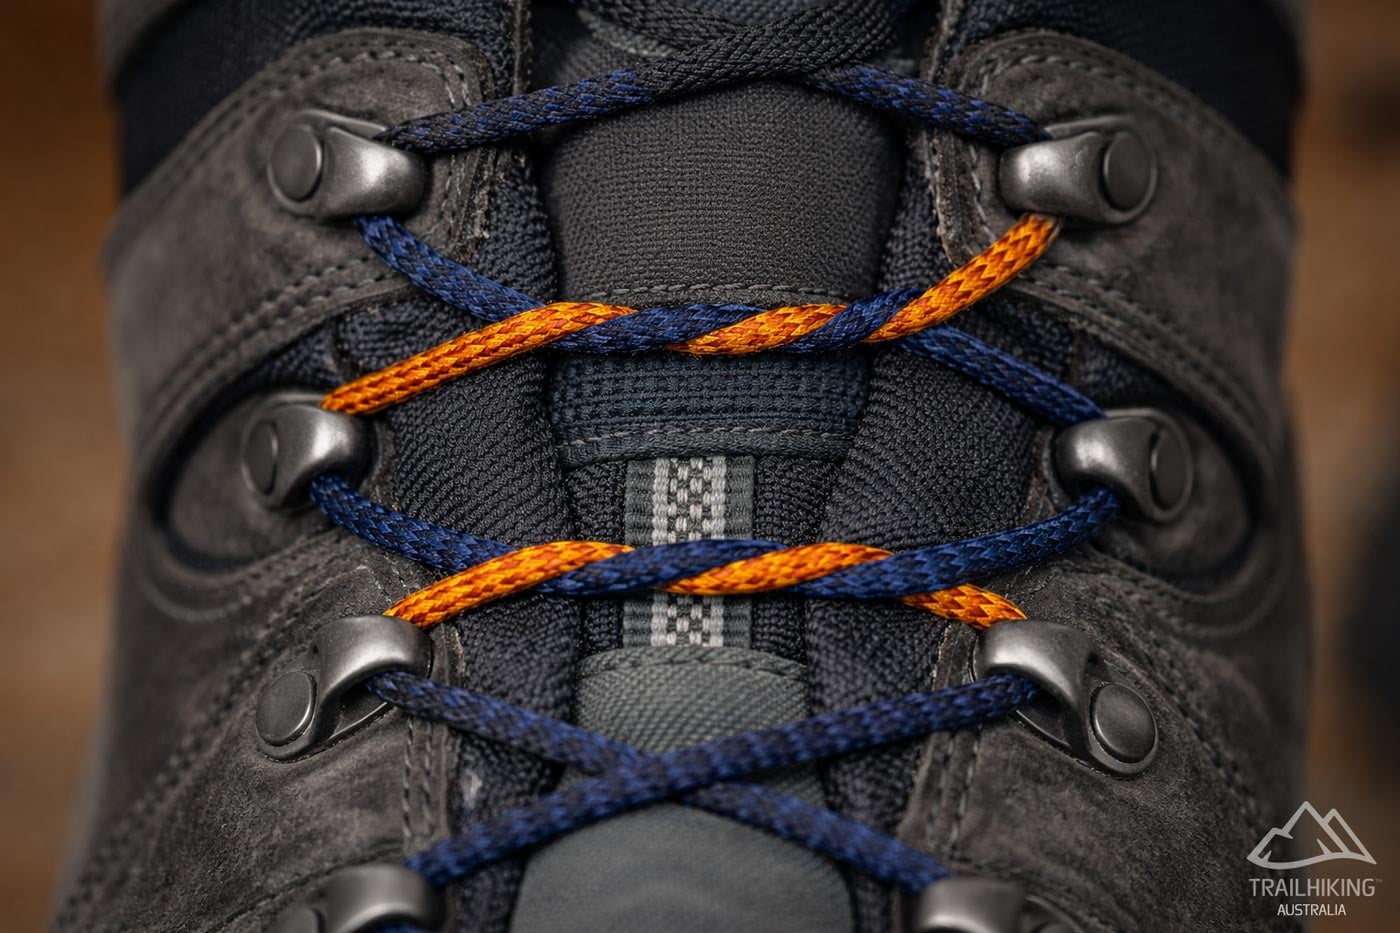
Using the Surgeon’s Knot to Lock Heel Tension
Best for: heel lift and excess volume through the midfoot.
If your heel slips excessively, it’s usually because there’s too much movement through the top of your foot. I use the surgeon’s knot to lock the tension around the midfoot, which prevents heel lift while still letting the upper part of the boot stay adjustable. It’s especially useful before long climbs or when I’m carrying a heavier pack.
Here’s how to do it:
- Pull out any slack in the laces so the boot feels snug over the top of your foot.
- Locate the lace hooks closest to where your foot begins to flex.
- Wrap the laces around each other twice and pull tightly to form a surgeon’s knot.
- Run the lace directly up to the next hook to lock the tension in place.
- Repeat at the next set of hooks if needed.
- Finish lacing the boot as usual.
This knot reduces heel lift and gives a more secure fit, especially on steeper ascents.
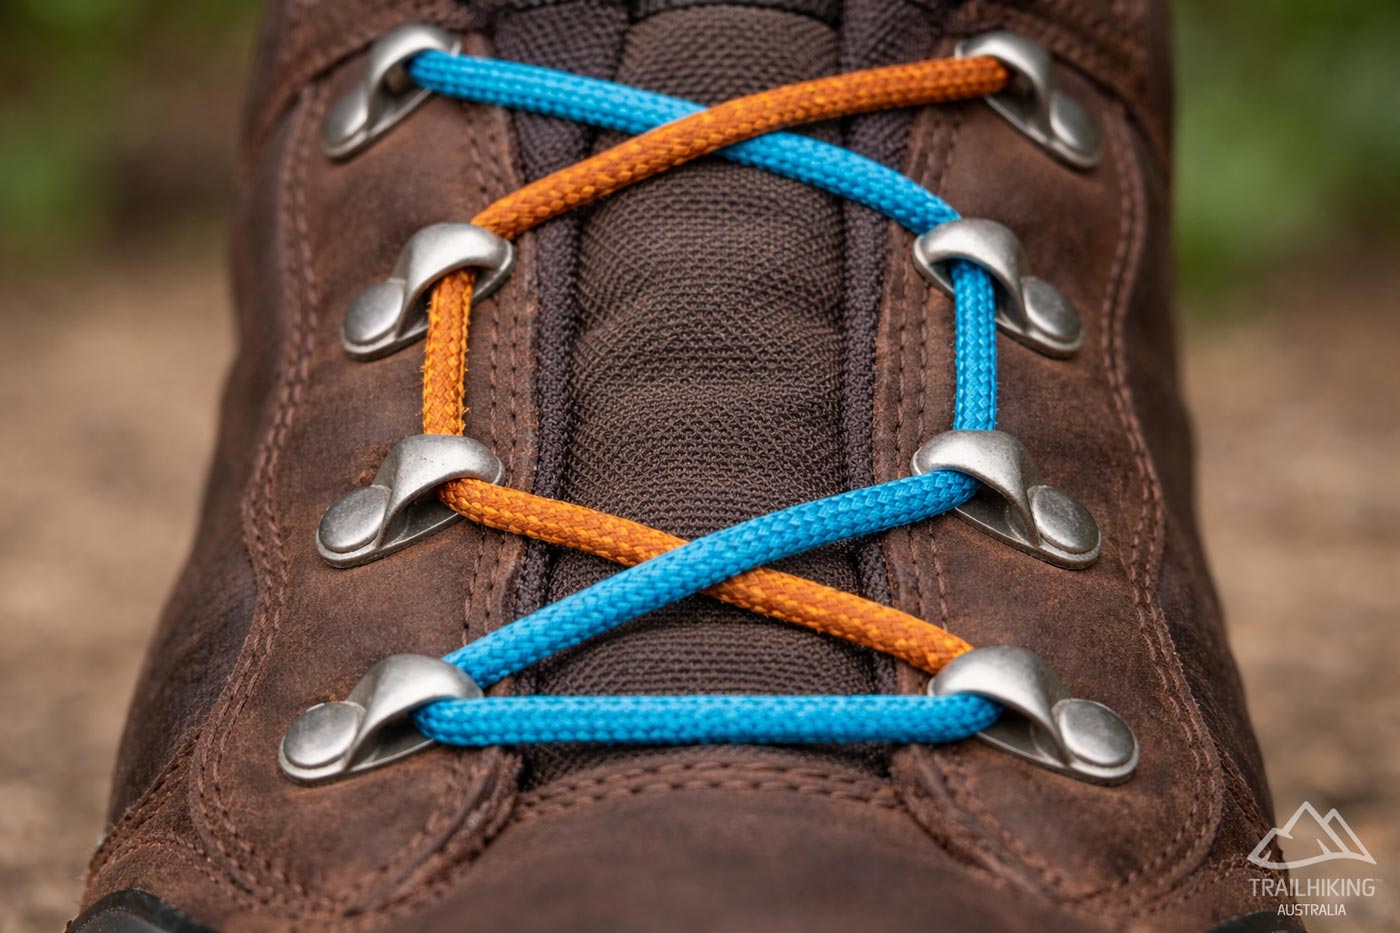
Window Lacing to Relieve Top-of-Foot Pressure
Best for: pressure points on the top of the foot.
If you feel sharp pressure or numbness across the top of your foot, I’d try window lacing, sometimes called box lacing, which removes tension from that area.
- Unlace the boot down to the hooks just below the pressure point.
- Instead of crossing the laces, run them straight up on each side to the next hook.
- Resume normal criss-cross lacing above the pressure point.
I combine this with a surgeon’s knot above and below the window to stop the adjustment shifting during the day.
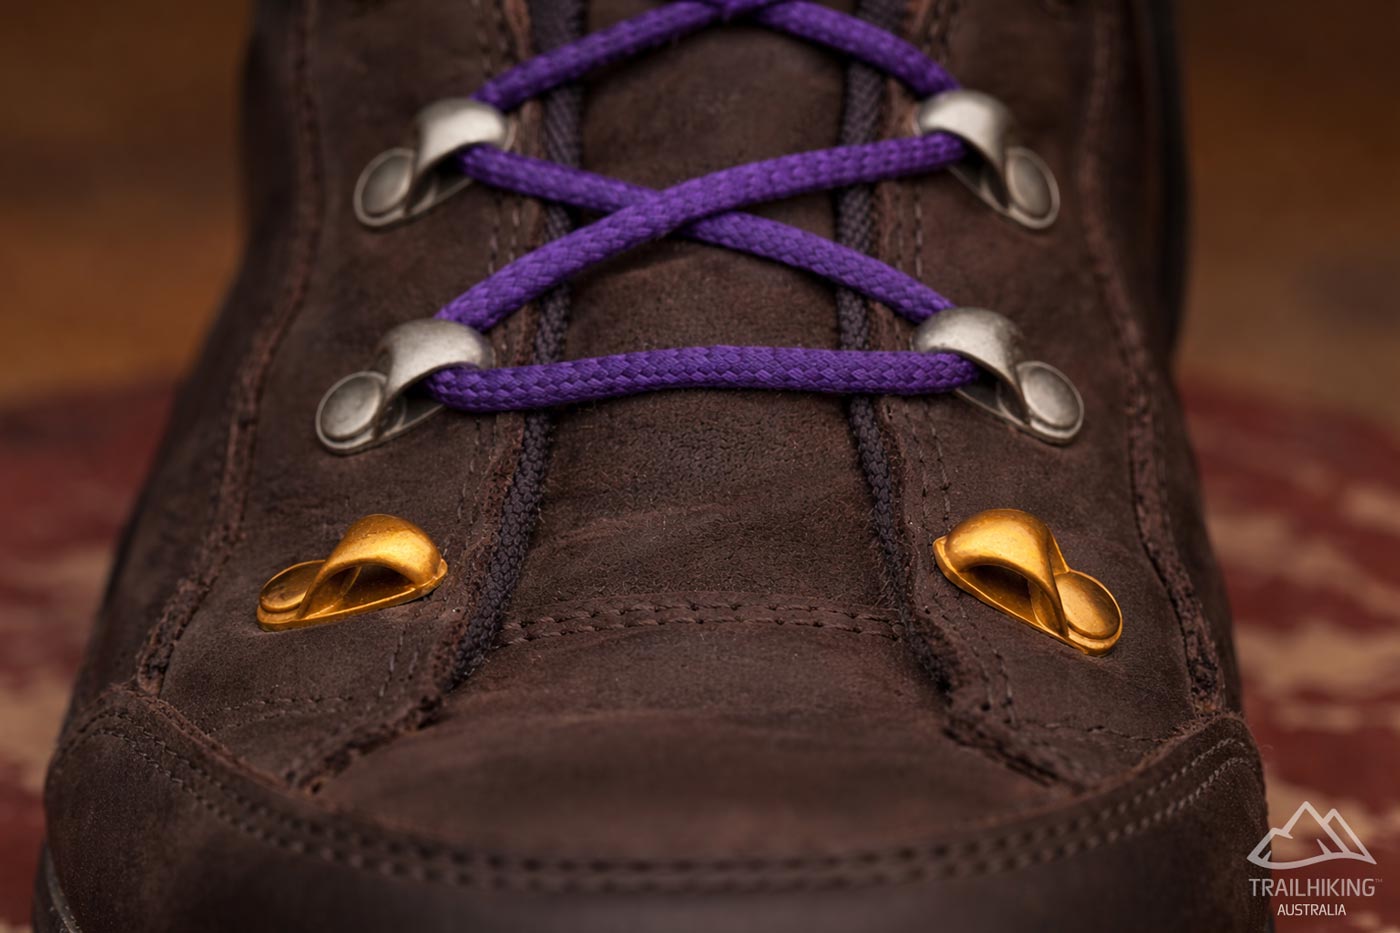
Toe-Relief Lacing to Reduce Pressure on Descents
Best for: temporary relief from toe pressure.
If your toes are sore or jammed on descents, this technique can reduce pressure enough to get you back to the trailhead.
- Completely unlace the boot.
- Re-lace it but skip the first set of hooks near the toes.
This opens up the toe box and reduces forward pressure. If toe pain keeps coming back, the boot is likely too short, or the toe box shape is wrong for your foot.
Adjust Lacing Based on Terrain and Conditions
I change my lacing with the terrain:
- snug the midfoot before long climbs
- lock the heel down before steep descents
- loosen slightly if feet swell in heat
Small adjustments made early often prevent blisters later.
Why You Should Always Carry Spare Laces
I always carry a spare pair of laces that suit my boots. Laces can break, get cut on rock, or fail at the eyelets, and a broken lace can turn a simple walk into a real problem.
Good lacing improves comfort, control, and confidence on the trail. It can’t fix a badly fitting boot, but it can make a well-fitting boot work far better. If you regularly struggle with hot spots or foot pain, combine smart lacing with proper break-in and foot care.