Choosing the right lens for wildlife photography
Wildlife photography rewards patience and awareness, and a healthy respect for whatever’s on the other end of the lens. When I’m out hiking, photography usually comes second to moving safely through the landscape, which means the gear I carry has to be practical and reliable, not just capable in ideal conditions.
Camera bodies change every year, but the principles behind choosing a good wildlife lens have stayed fairly constant. Rather than pushing specific products, this guide breaks down the lens characteristics that actually matter for wildlife photography on a bushwalk, separate from the broader question of which camera to carry in the first place.
A note on camera systems: lenses are built to suit specific camera systems, whether mirrorless, DSLR, or fixed-lens, and mounts and sizes vary. But the things that matter for wildlife, reach, stability, durability, and low-light performance, hold across all of them.
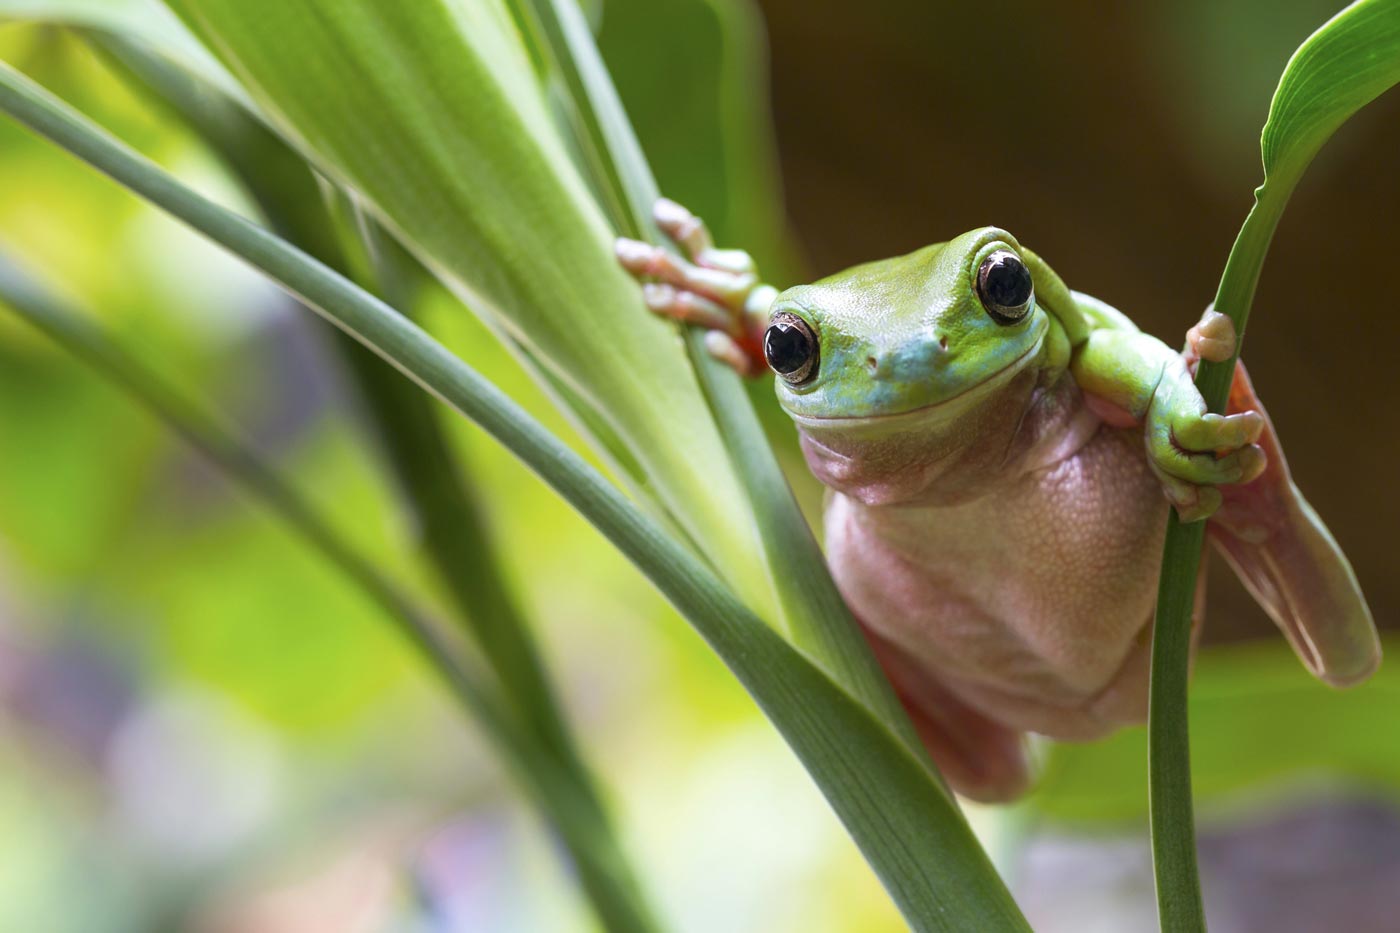
What to look for in a wildlife photography lens
Focal length and reach: Wildlife is best photographed from a distance, and I treat that as a rule rather than a suggestion. A longer focal length lets you get the shot without closing the distance and disturbing the animal, or putting yourself at risk in the process. Moderate telephoto ranges are usually enough for larger or more approachable animals, but for birds or anything skittish, I want as much reach as I can manage, because it’s the only thing that lets you stay well back and still fill the frame. On a hike, that reach comes at a cost. Longer lenses add weight and bulk, and that trade-off matters more the longer the day or the walk.
Zoom versus prime lenses: For hiking, I lean towards zoom lenses almost every time. They let you adjust framing as an animal moves or the distance changes, without needing to swap lenses on the trail, which matters because wildlife encounters are usually brief and rarely cooperative. Prime lenses, which use a fixed focal length, can produce excellent image quality and wider apertures, but they demand more deliberate positioning and don’t adapt well when conditions change quickly. For most hikers, a zoom lens gives the best balance of adaptability and convenience.
Weather resistance and durability: Wildlife photography rarely happens in controlled conditions. Dust, rain, humidity and temperature swings are just part of hiking in Australia, and a lens built to cope with them gives you one less thing to worry about when the weather turns unexpectedly. Durability matters just as much as image quality once your gear is being carried over uneven terrain and exposed to the elements all day.
Maximum aperture and low-light performance: Wildlife tends to be most active early in the morning or late in the afternoon, when light levels are at their worst. A wider maximum aperture lets more light into the lens, helping you hold a faster shutter speed and avoid motion blur. Some lenses hold the same maximum aperture right through their zoom range, while others narrow as you zoom in, and knowing which one you have helps you manage your expectations before you’re standing in low light wondering why a shot isn’t sharp.
Image stabilisation: Longer focal lengths magnify camera movement as much as they magnify the subject. Built-in image stabilisation makes a noticeable difference shooting handheld, particularly on uneven ground where a tripod isn’t practical. It doesn’t replace good technique, but it can meaningfully improve sharpness in the kind of conditions you actually hike in.
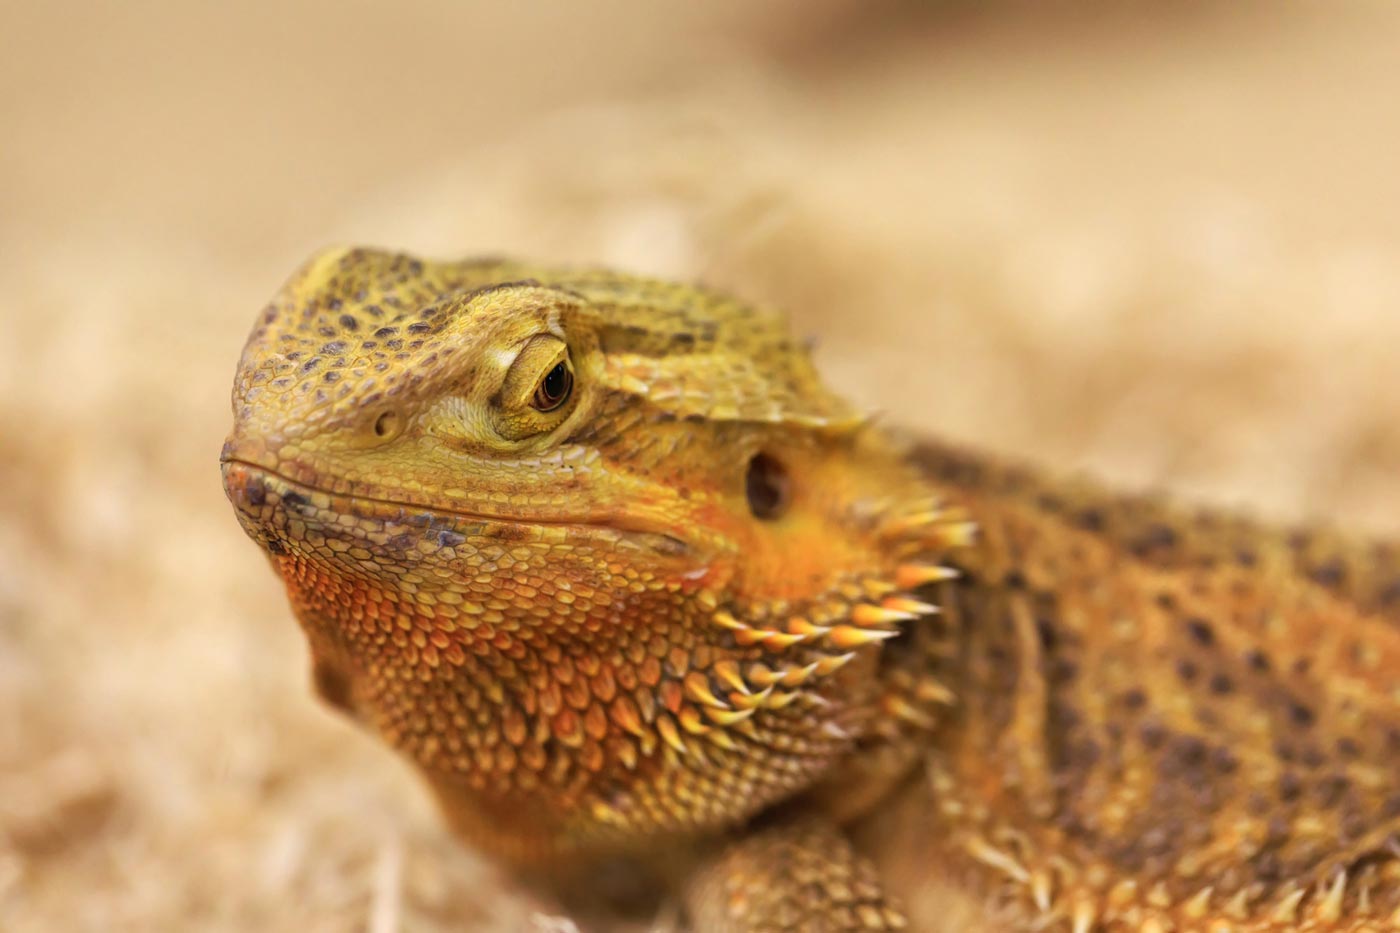
Wildlife photography in the bush
Choosing the right lens is only half the equation. How you behave around wildlife matters just as much as the equipment you’re carrying.
Keep your distance: A longer lens lets you observe and photograph animals without interfering with their behaviour. I avoid approaching wildlife for the sake of a photo, and I treat any change in an animal’s behaviour because of my presence as the sign that I’m already too close.
Move slowly and quietly: Sudden movement and noise are the quickest way to end a wildlife encounter. Take your time, stay low-key, and let animals become comfortable with your presence from a safe distance.
Patience pays off: Wildlife photography rewards whoever is willing to wait. Spending time watching an animal’s behaviour usually gets you a better image than chasing the moment, and over time you learn to anticipate movement rather than react to it.
Vary your perspective: Once you’ve captured a safe, respectful shot, try a different angle or composition. Small changes in position can change the whole feel of an image, especially with natural light and background elements.
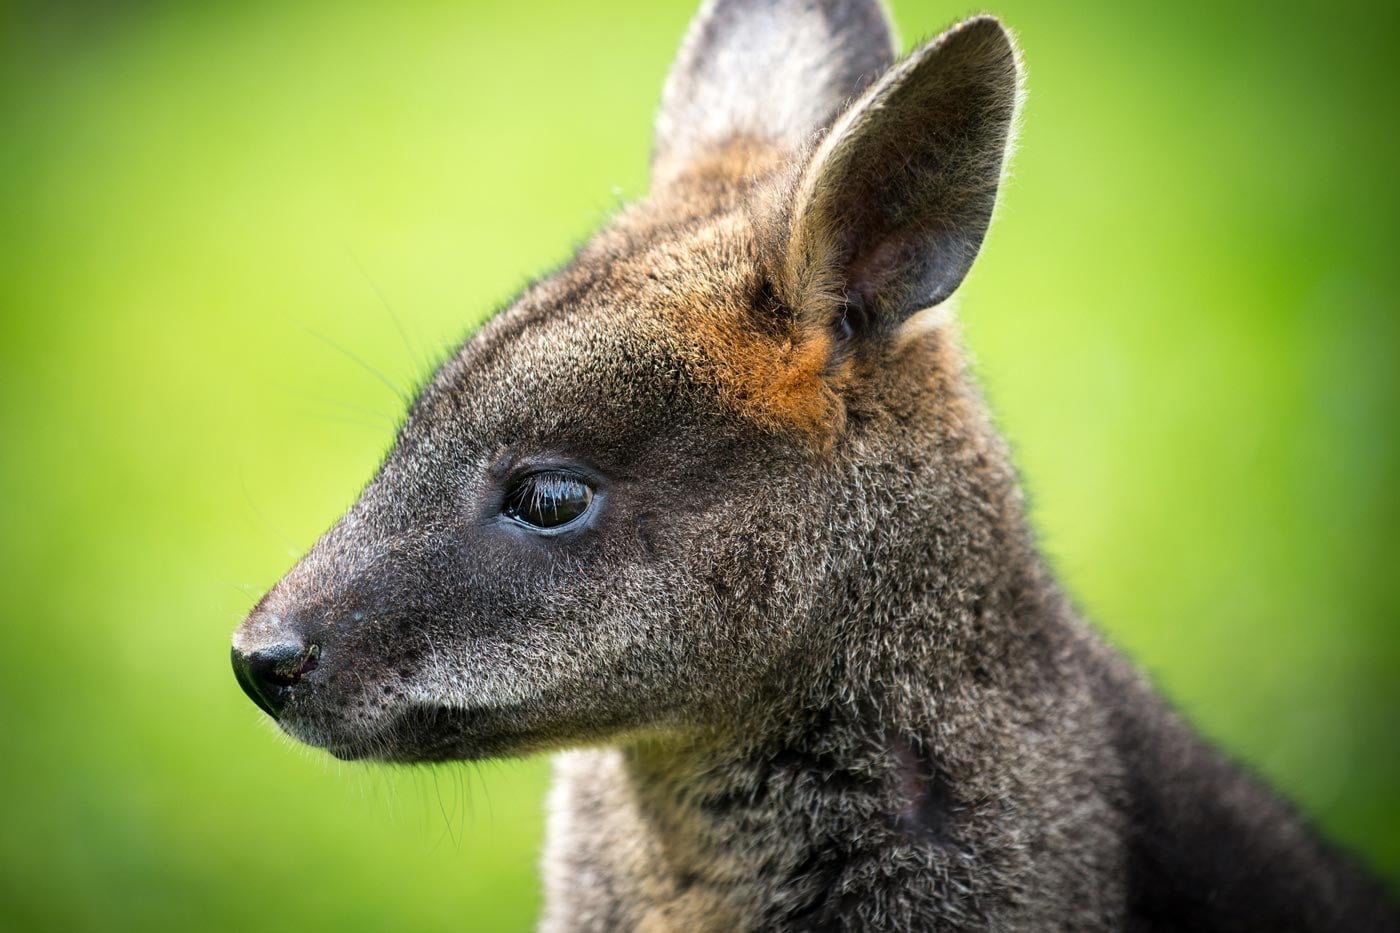
Useful accessories for wildlife photography on hikes
Alongside the lens itself, a few well-chosen accessories make wildlife photography easier and more enjoyable on a hike.
- Tripod or monopod. These help stabilise long lenses, especially in low light. I find a monopod more practical than a tripod on narrow tracks or uneven terrain.
- Binoculars. Useful for scanning the landscape and spotting wildlife before you lift the camera.
- Portable power bank. Cold temperatures, long days, and frequent image review can drain batteries faster than expected.
- Protective camera bag. Choose something lightweight that offers protection from impact and weather while still allowing quick access.
- Comfortable camera strap or harness. Carrying a camera with a longer lens for hours will strain your neck and shoulders. A supportive carrying system makes a real difference on long walks.
Wildlife photography doesn’t need the newest gear or the longest lens on the market. What it needs is a solid grasp of lens fundamentals, respect for the animal in front of you, and enough patience to let the moment come to you rather than chasing it. Get that right and the image reflects the experience of being out there, not just the instant you pressed the shutter.