Wilderness first aid on the track: priorities that prevent escalation
On a day walk near town, emergency help may arrive quickly. On remote Australian hikes, help can take hours, and in poor weather, complex terrain, or multi-day settings, that timeline can stretch out further still. Wilderness first aid is not just about treating an injury, it is about stabilising the situation, preventing deterioration, and making clear decisions while time, weather, fatigue, and limited equipment are all working against you at once.
1. Slow down and stay calm
The first minutes after an incident shape everything that follows, so stop, breathe, and deliberately shift into assessment mode before you do anything else. A calm approach reduces panic, improves communication, and helps you avoid the rushed decisions that create a second problem on top of the first.
2. Make the scene safe first
Your safety and the safety of the group comes before treatment, always. Check for hazards such as unstable ground, rockfall risk, exposure near ledges, fast-flowing water, and lightning risk, because a second casualty helps no one. If the location is unsafe, move only as much as needed to prevent further harm, not a step more.
3. Treat problems that will kill first
Wilderness care requires ruthless prioritisation. Control major bleeding, protect the airway and breathing, and manage shock and cold exposure first, and only then move on to fractures, sprains, and comfort measures. That order exists for a reason: it stops you getting stuck treating a minor issue while something that could actually kill the person keeps escalating unnoticed.
4. Keep the person warm, dry, and protected
In the bush, exposure can become as dangerous as the original injury, because a patient who is wet, cold, or windblown deteriorates faster and thinks less clearly than one who is protected. Use whatever you have to reduce heat loss: extra layers, rain protection, a tarp, sleeping bag, emergency blanket, and insulation from the ground. This is not just comfort. It is a medical intervention that improves both survival and decision-making, for the patient and for you.
5. Use your kit deliberately, and check it before each trip
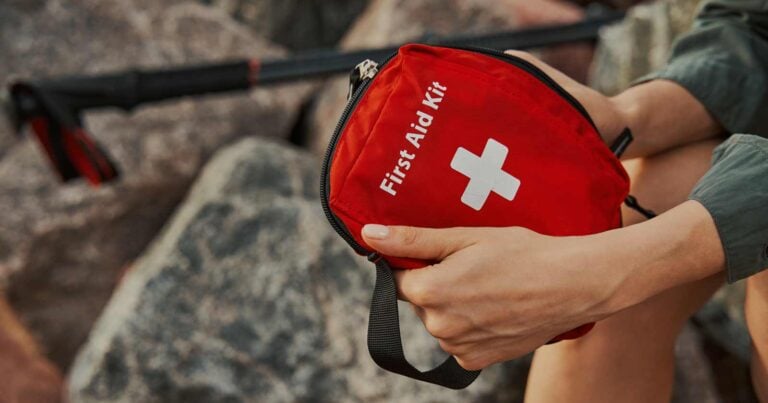
There is no single perfect first aid kit for every hike, because your needs change with terrain, remoteness, weather, group size, and how far you are from definitive care. Review your kit before each trip, replace anything you have used, and keep your pressure immobilisation bandage somewhere accessible, not buried at the bottom of your pack where it does you no good in a hurry.
6. Be prepared to improvise, but stay within safe limits
You will rarely have ideal equipment in the bush, so improvisation is normal, not a failure of planning. Trekking poles, sleeping mats, tape, clothing, and packs can all be pressed into service as splints, insulation, or stability. That said, improvisation is not an excuse to attempt advanced procedures you are not trained for. Your goal is stabilisation, not perfection, so if you are ever unsure, default to keeping the patient still, warm, and protected while you seek help.
7. Do not underestimate head injuries
Head injuries can deteriorate over time, even when the person seems completely fine at first, which is exactly what makes them dangerous to underestimate. Treat any loss of consciousness, persistent headache, vomiting, worsening confusion, seizure activity, or abnormal behaviour as serious. If symptoms are concerning or getting worse, plan for early evacuation rather than waiting to see how they progress, and keep monitoring closely and recording changes in the meantime.
8. Consider the mechanism of injury
The mechanism of injury helps you predict what you cannot yet see, because a slip on loose gravel is a very different event to a high-energy fall, a rock strike, or a sudden deceleration, even if the visible injury looks similar. Use the story of how the incident happened to guide what you assess and what you assume could be wrong, so you do not end up missing a hidden injury because you were focused only on the obvious pain point.
9. Avoid tunnel vision and manage the wider situation
Before and during treatment, keep scanning the environment around you. Monitor weather, daylight, rising water, group fatigue, and the likelihood of further hazards, because a perfectly manageable incident can turn dangerous the moment you lose the bigger picture while focused on the patient. If you are with others, assign simple roles: one person manages the patient, another manages shelter and warmth, and another handles navigation, communication, and the decision points that come up.
10. Plan your evacuation options early
Do not wait until you are exhausted and out of daylight to decide what to do, because that is exactly when your judgement is at its worst. Consider your options early instead: can the patient walk out with support? Is there a safer campsite nearby? Is there a bailout track or alternate route? Is the weather deteriorating? If evacuation is required, make the conservative call, because early action is almost always safer than waiting for the situation to get worse before you act.
Training changes outcomes
A kit supports you, but training is what actually makes you effective with it, because wilderness first aid training improves assessment skills, decision-making under stress, and your ability to manage a patient over hours rather than minutes.
If you want a structured overview of why that training matters for hikers, see The benefits of wilderness first aid training.