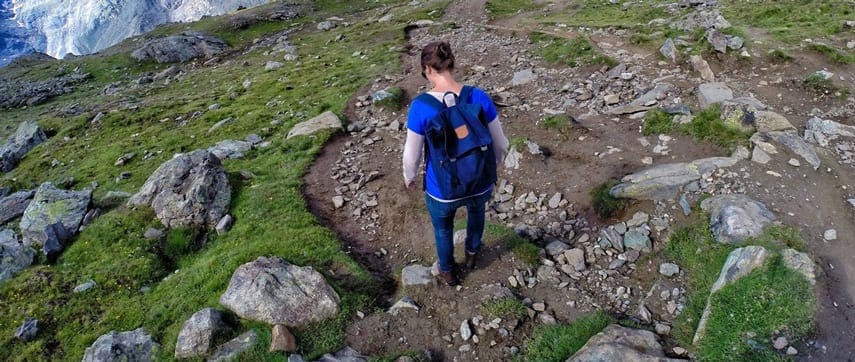
Many hikers have a love/hate relationship with walking uphill or downhill. It takes extra exertion, so you know it is probably doing good things for your body. But that exertion gets you huffing, puffing, and sweating. The benefits make it worth the sweat, especially when you take the time to walk uphill with good technique.
Hiking uphill
When you add incline to your hikes, you get a more efficient workout, along with several other bonuses for your body.
- Warm up. Going uphill will work your muscles more intensely. They are going to be lifting you as well as propelling you forward. Warm up with a walk on the level for five minutes before you tackle a steep hill.
- Maintain a natural pace and avoid making large strides.
- Long strides are fine on flat terrain, but when going up or down, shorten your stride. Bending your knees deeply, as you do when taking big steps up or down, works the large muscles and your joints harder than bending your knees more shallowly.
- Avoid climbing at high speed. Don’t rest too frequently or for too long. When you feel tired, reduce your speed instead of stopping.
- Tread only on secure stable ground, where there is enough foot room.
- Use the strength of your legs to climb. Avoid pulling yourself up by grasping small trees or branches, as they may break leading to a fall.
- Keep your upper body straight.
- When going up very steep slopes, don’t go straight ahead. Move sideways and work your up in a series of zigzags. Lean forward, lock/straighten your back leg, momentarily shifting the weight on to the joints rather than the muscles.
- Hiking poles will benefit an uphill ascent. When going uphill or on flat terrain, adjust your poles’ length so that your elbows are bent at 90 degrees when holding the poles upright with their tips touching the ground. With each stride forward, plant the pole in the opposite hand beside or behind your trailing foot, with the pole at an angle, so that you’re pushing off slightly each time you plant a pole. Planting the pole in front of you-as many people do-doesn’t help propel you forward. Over the course of several miles, you’ll notice the difference.
Hiking downhill
Walking downhill may seem to be a breeze. After you crest a hill, it will feel great to catch your breath and have an easier time while descending. While it takes less energy to go downhill, you will still be getting exercise and health benefits. However, you will be adding stress to your joints and some people experience knee pain. You can take steps to make your downhill walking pleasant and have less risk of pain or injury.
- Avoid running downhill – inevitably gravity will always win
- Long strides are fine on flat terrain, but when going up or down, shorten your stride. Bending your knees deeply, as you do when taking big steps up or down, works the large muscles and your joints harder than bending your knees more shallowly
- Tread only on secure stable ground, with enough foot room
- Avoid treading on wet slippery ground, especially wet clay or grasses. But if there is no other way, proceed with caution – and keep your body low
- Use the strength of your legs to descend. Avoid sliding down by grasping small trees or branches. This indicates you are half out of control. Branches can break and, even if they don’t, you will damage the vegetation
- Keep your upper body straight
- When moving down very steep slopes, move sideways and work down in a series of zigzags
- Hiking poles will benefit an downhill descent. On sustained downhill stretches, lengthen the poles by five to 10 centimeters, depending on the trail’s steepness, and plant each pole out in front of you (right-hand pole when stepping left foot forward and vice versa) so that the poles take some of your body weight when stepping down. For big steps off ledges and rocks, plant both poles first and lean on them as you step down.


Jarrod Howell Jodie Kist Carlie Dicello ??
Awesome advice!
Shannon Lingard
Ange Price
Brigitte Stavar ? info for our next adventure
Such good advice ?I’m going to try the zigzagging up the mountain next time as I struggle significantly on the uphills, I’ll kinda be like invisible switchbacks. Thanks for the article ?
I find if I do short strides going down I bend more my knees than long ones… and the outside of my knees start to hurt a lot…